The Chevy C/K Series trucks from 1973-80 are classic pickups known for their style, durability, and utility. As with any vintage vehicle, ensuring that its components are in top condition and using quality replacement parts is crucial for preservation. One of the aesthetic and protective components of this series truck is the popular molding and trim. Specifically in the ’73-80 model trucks, the trim is one of the best identifiers of the model range and even the specialized one-year-only ’77 yellow trims.
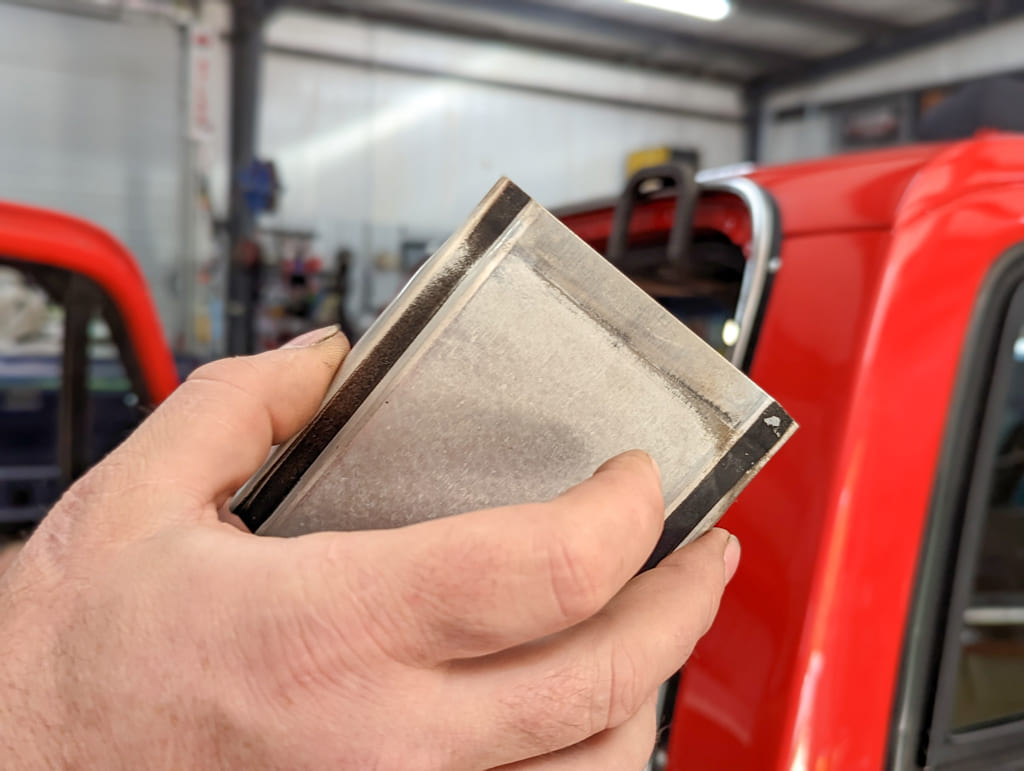
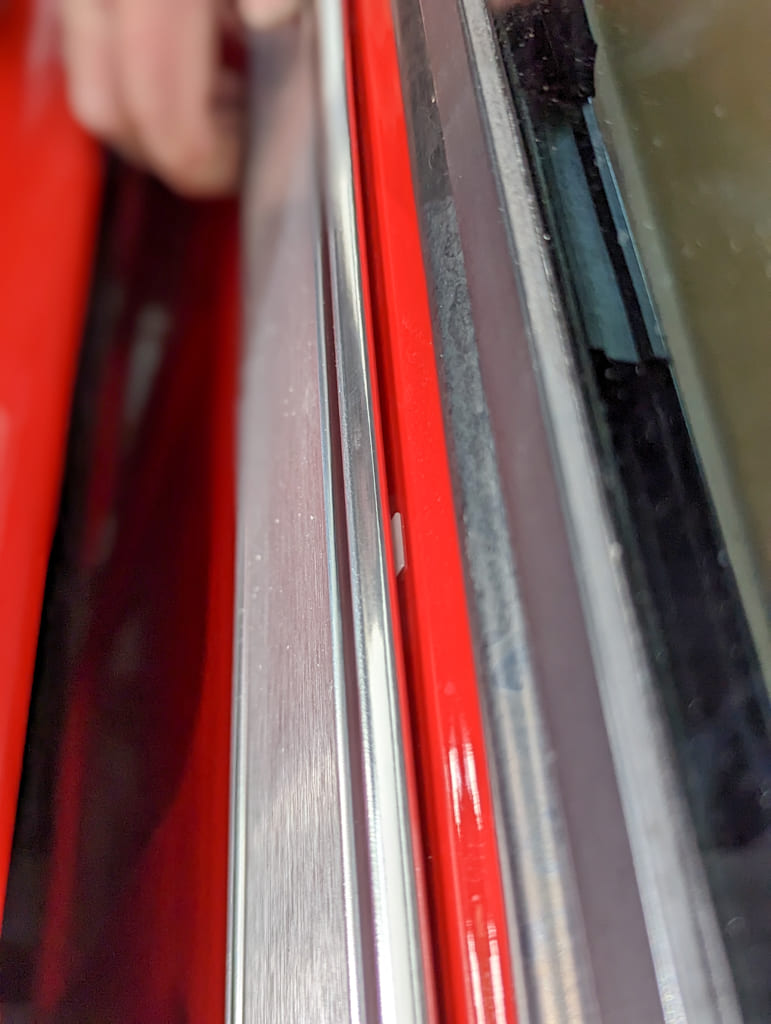
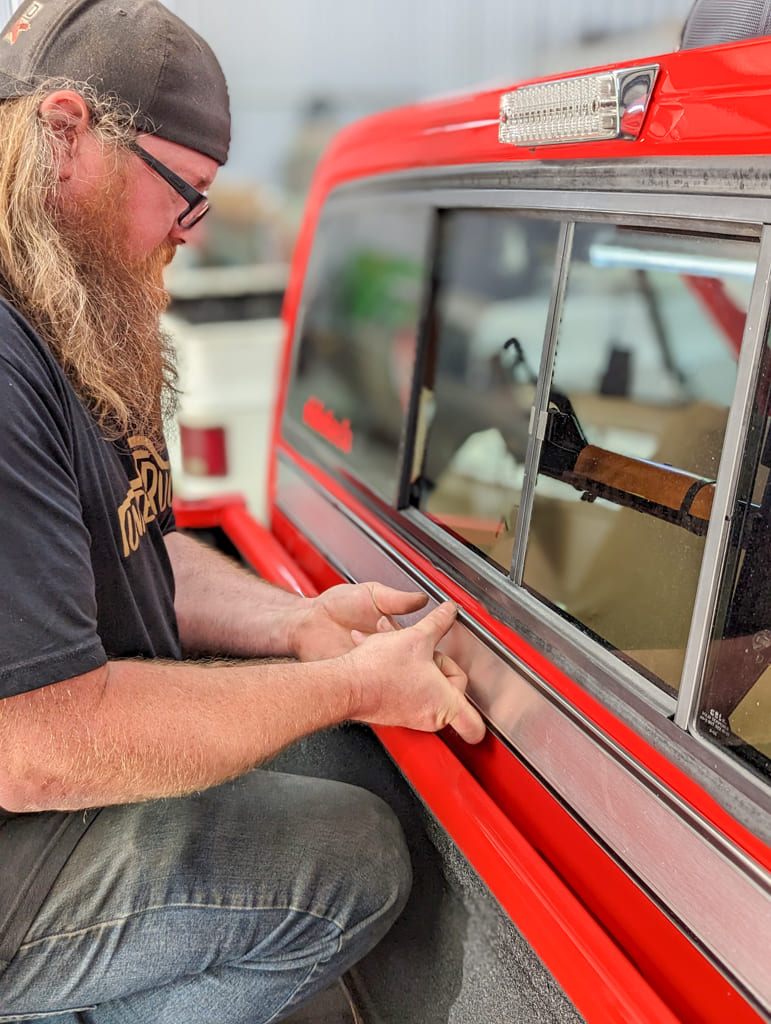
As you can tell, this cab molding is in good shape but is showing its age. The oxidation could be removed and re-anodized but the cost savings from a new trim set is more affordable.
Read More: Must Know Tips When Preparing Your Next Classic Truck Chassis
If your molding is damaged, faded, or missing, replacing it can boost your truck’s appearance. That is where Auto Metal Direct (AMD) comes to the rescue. Known for their high-quality premium replacement parts, AMD is more than just metal. Their all-new line of restoration parts extends past the quality replacement panels we all know them for. This installation focuses on the back cab molding for the round eye trucks.
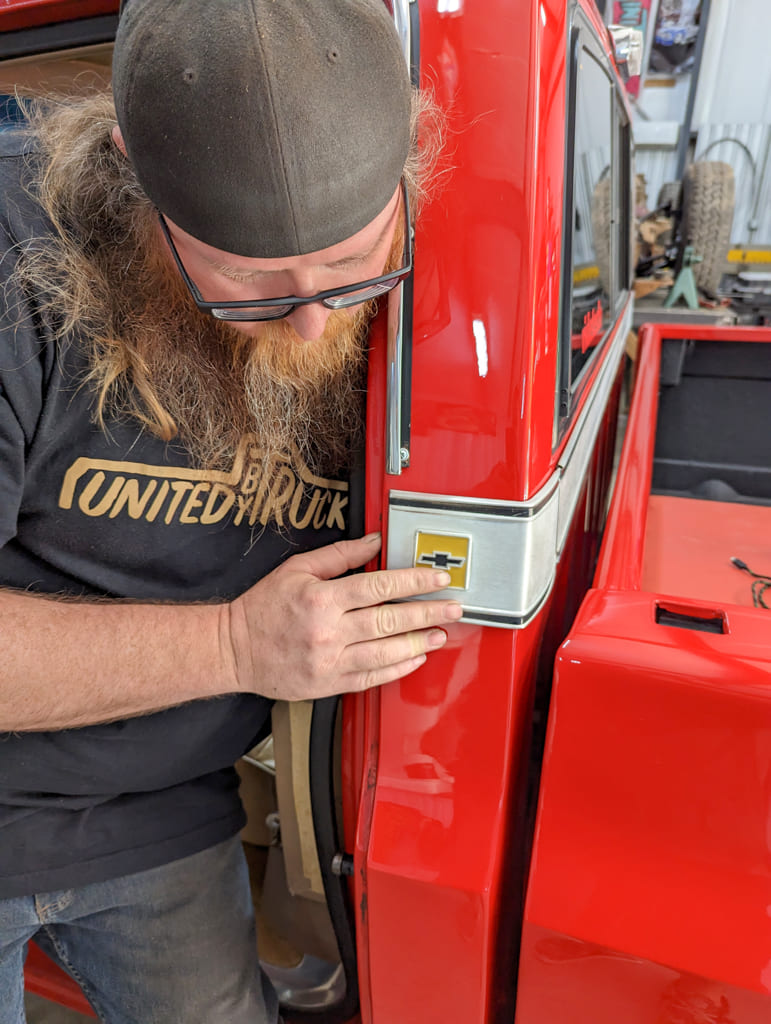
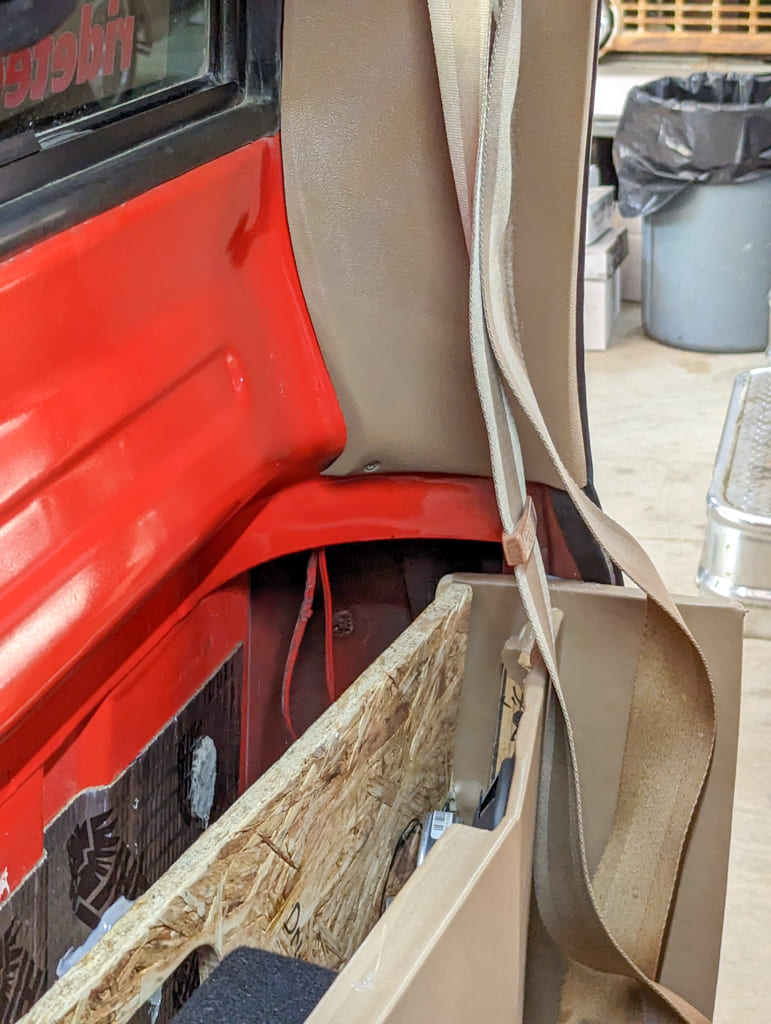
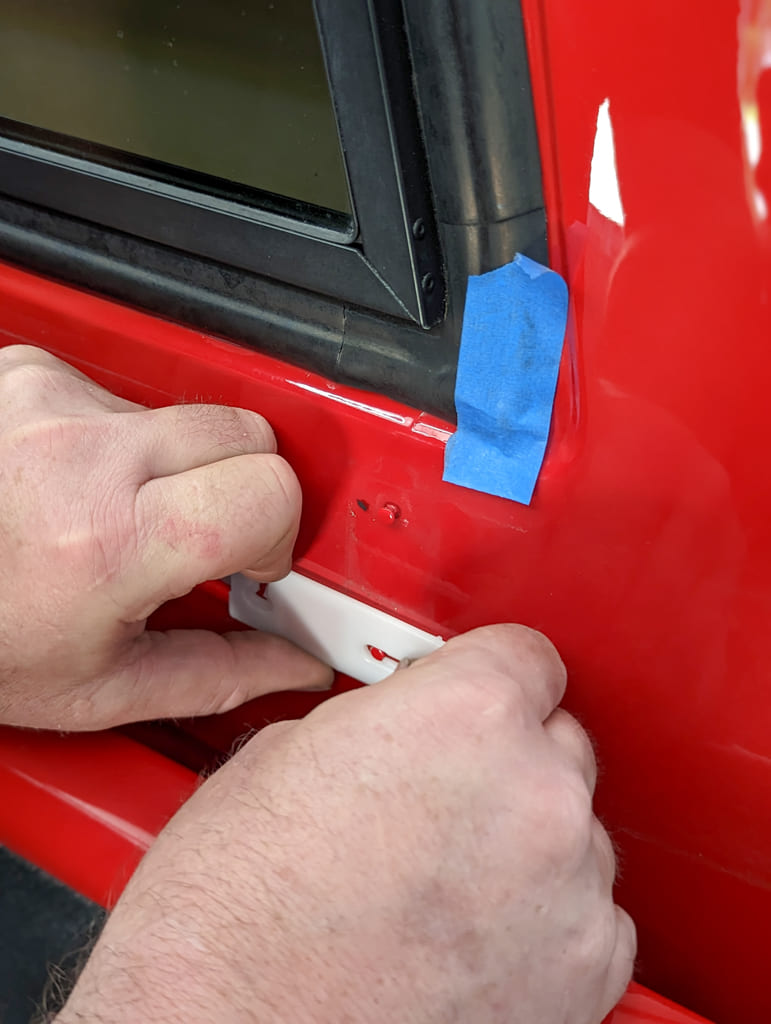
Mike Howe begins by removing the original trim. The corner pieces are accessed through the cab behind the B-pillars and are attached by two speed nuts.
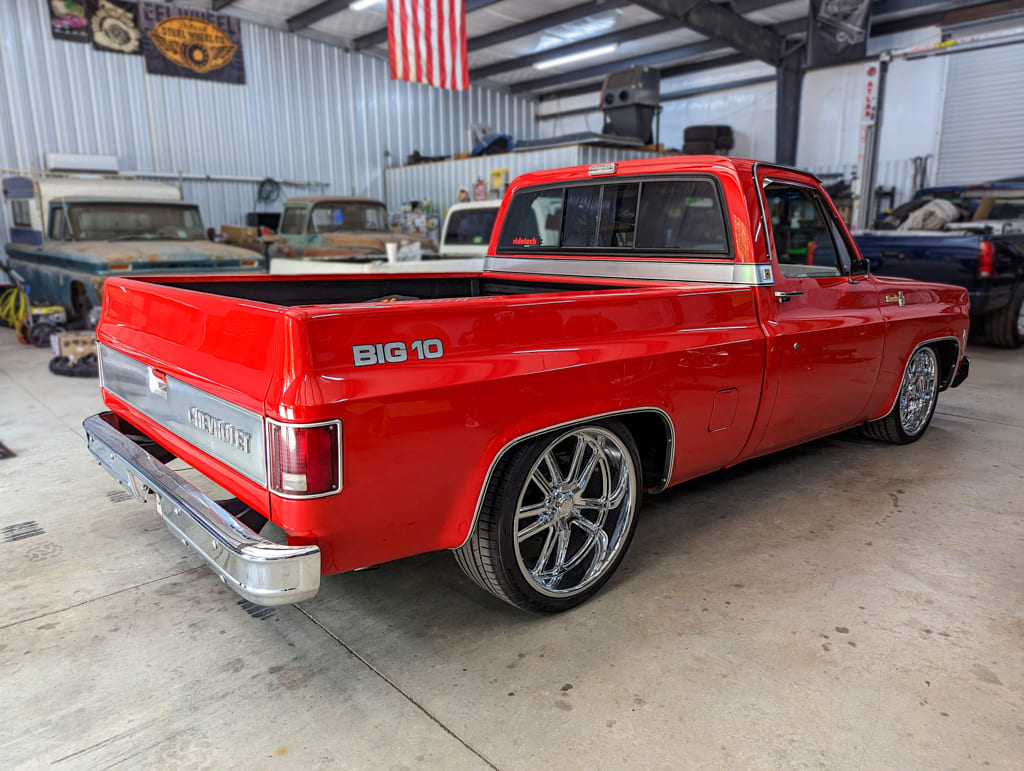
We met up with the guys from AMD at Howe’s It Doin’ Garage in Dallas, Georgia. You may have seen Mike Howe and the crew on their popular YouTube channel United By Trucks. Howe now has his own channel under the shop name where he features installation tips and how-tos on a variety of classic trucks. This truck is a beautiful ’78 Chevy Big 10 with the original 400 still intact. Owned by Alan Sensing of Fairburn, Georgia, this truck is beautiful in every way and at face value doesn’t look like it needs anything. Sensing wants to keep taking his truck to the next level and has decided to do some upgrades to keep the project going. Let’s take a look and see how we can do just that.
Speaker boxes and trim can hinder the removal and installation process and will need to be moved to make this job easier.
Read More: Is It Better To Buy A New Door Vs. Repair The Original Door?
AMD is a known manufacturer of quality replacement parts. In this article, we’ll guide you through the process of installing a ’73-80 Chevy C/K Truck back cab molding using AMD PN 456-4073-2S.
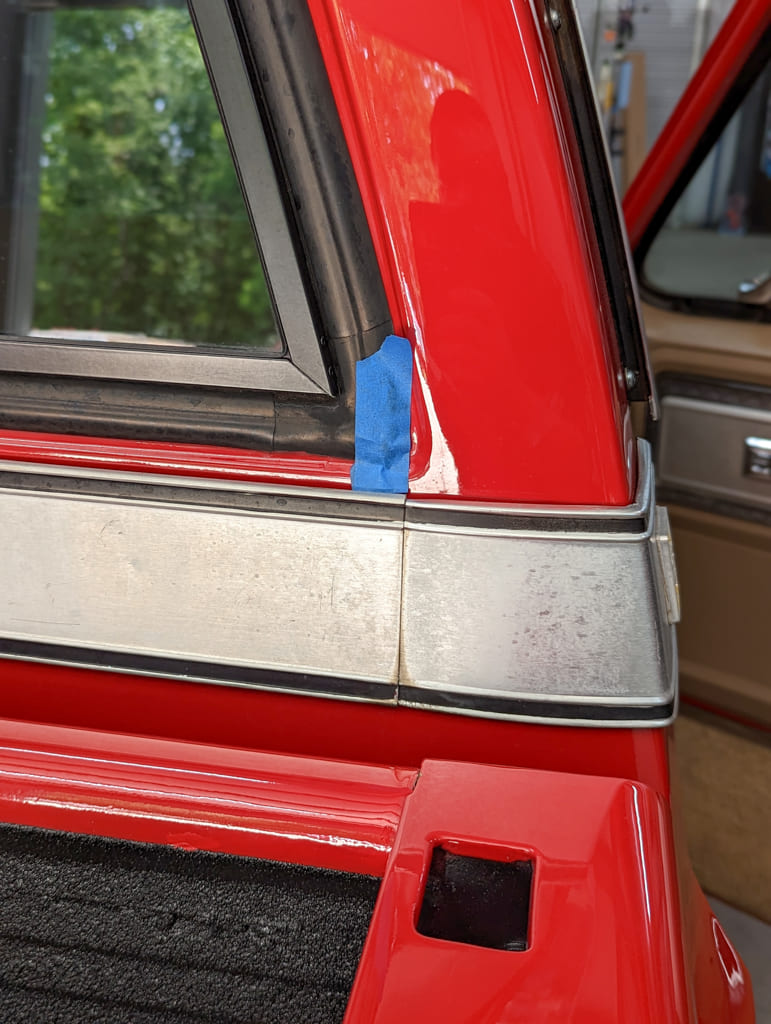
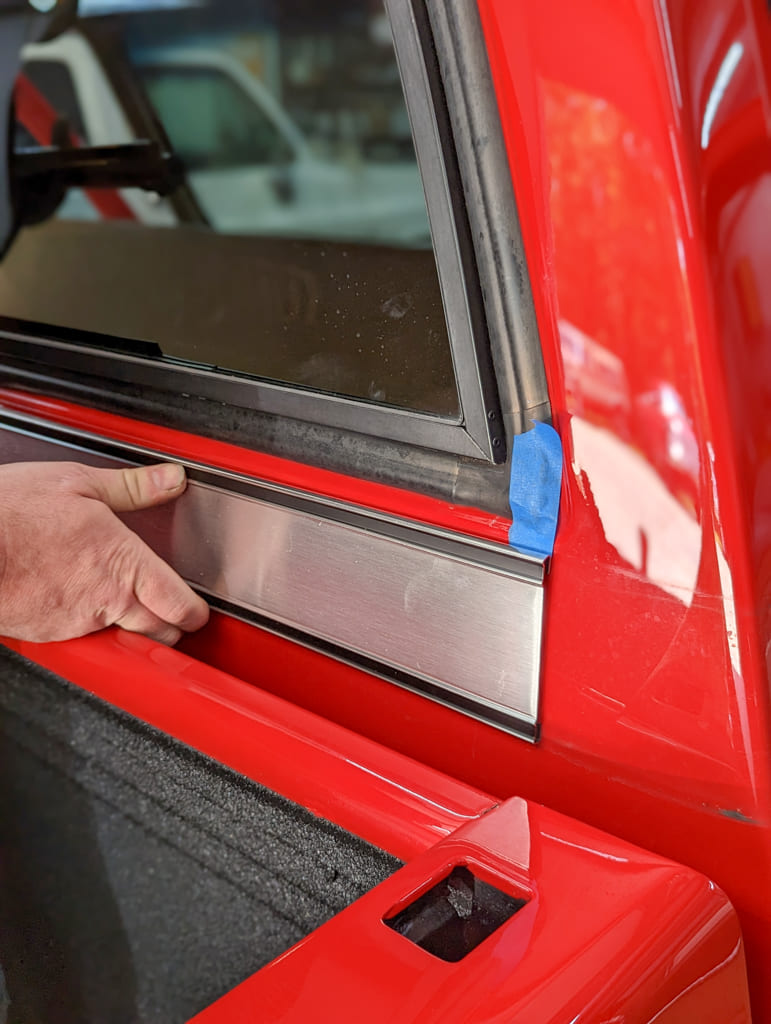
Painter’s tape can be used to ensure the removal and installation are not going to scratch your paint and you can realign the new trim easily
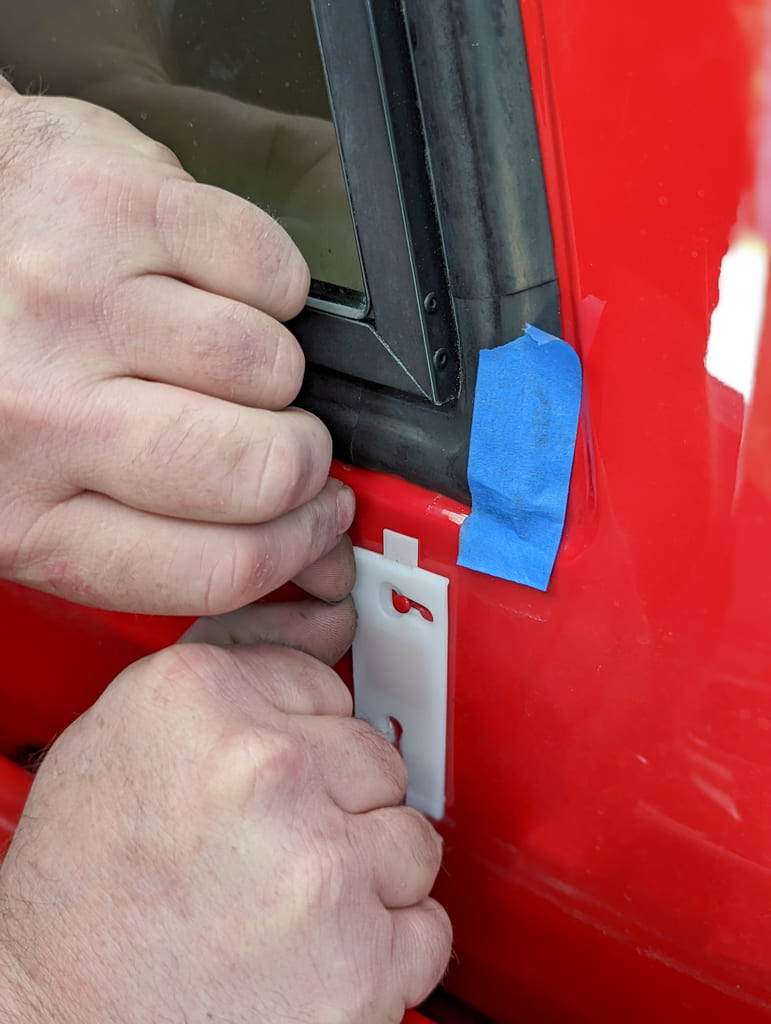
With the speed nuts removed…
…slide the corner trim out from the centersection.
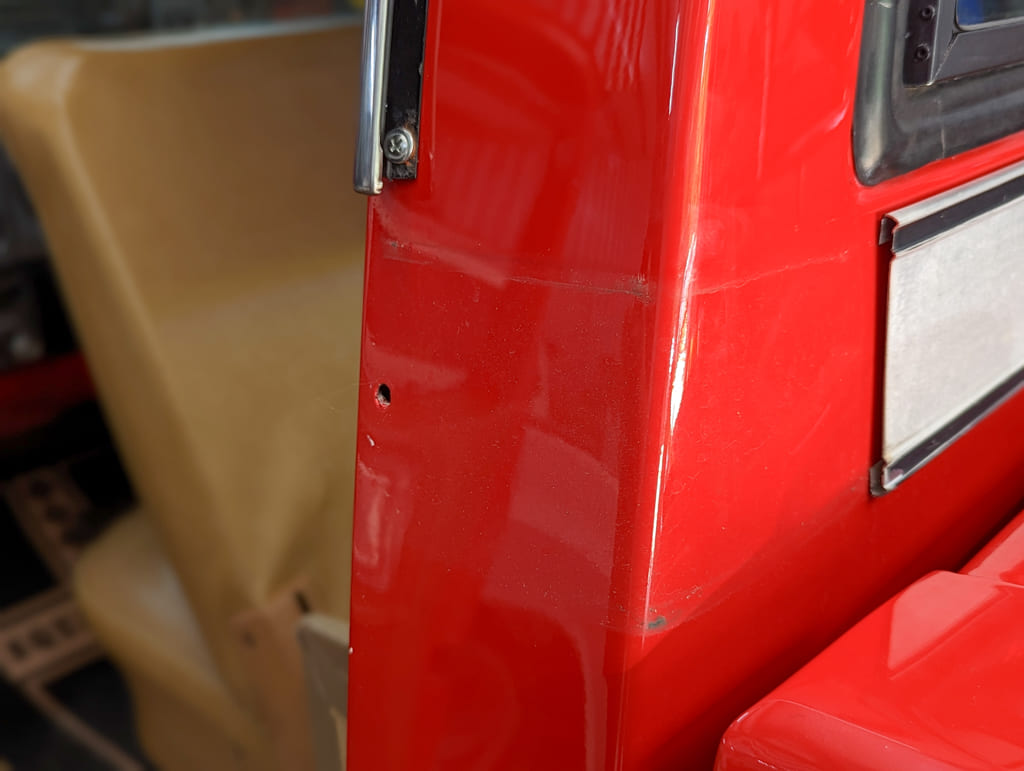
As with a lot of classic trucks, the trim holes have been modified and your truck may be different here. The original trim has two spring clips for this corner and the bodywork has covered the original holes with a new variation remaining.
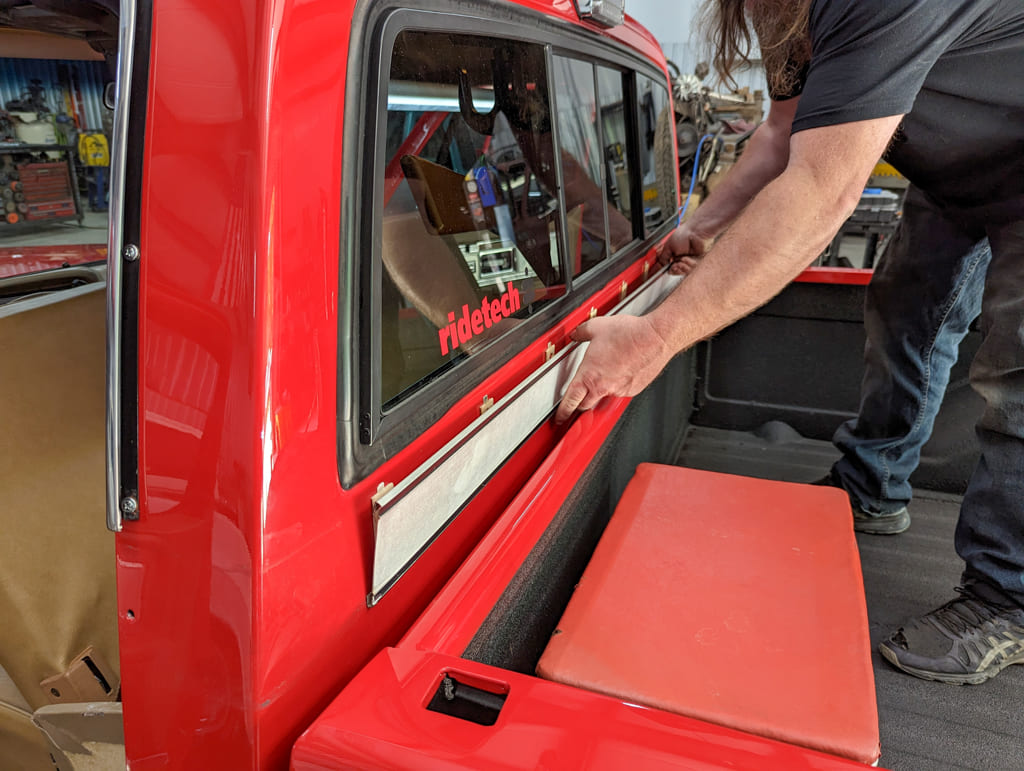
With the corners removed, the center trim can be removed by applying pressure…
…to the bottom and lifting up so the upper part of the clip is released along the top.
With the top released, you can push the trim down at a slight angle…
…and remove the trim from the cab.
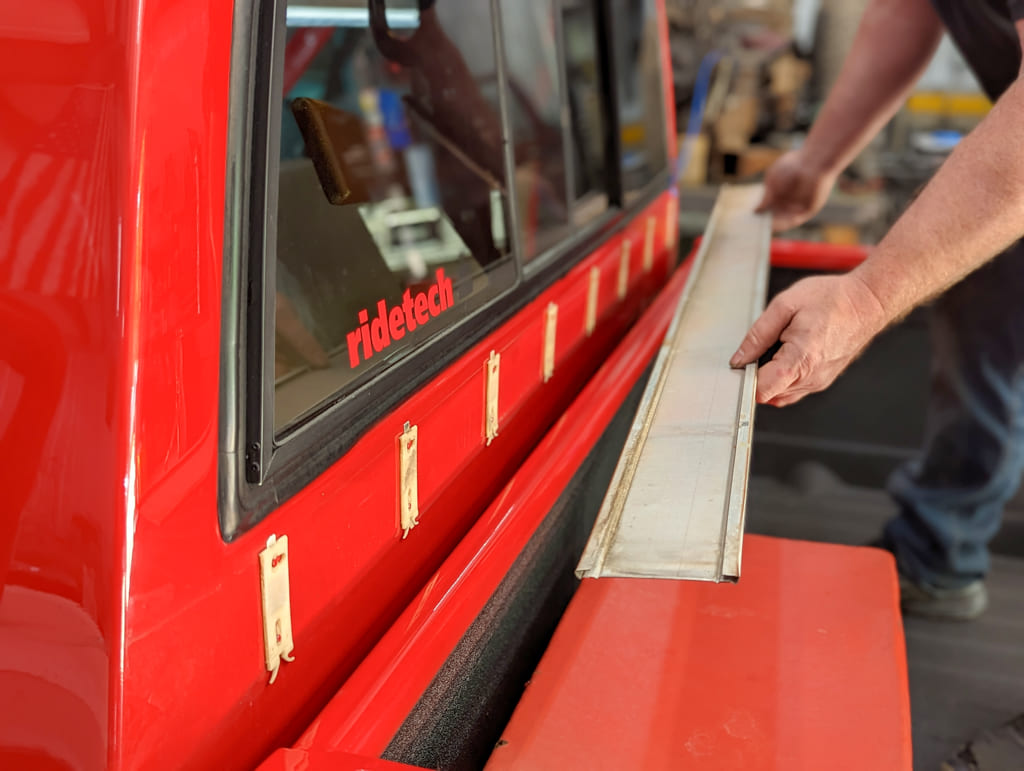
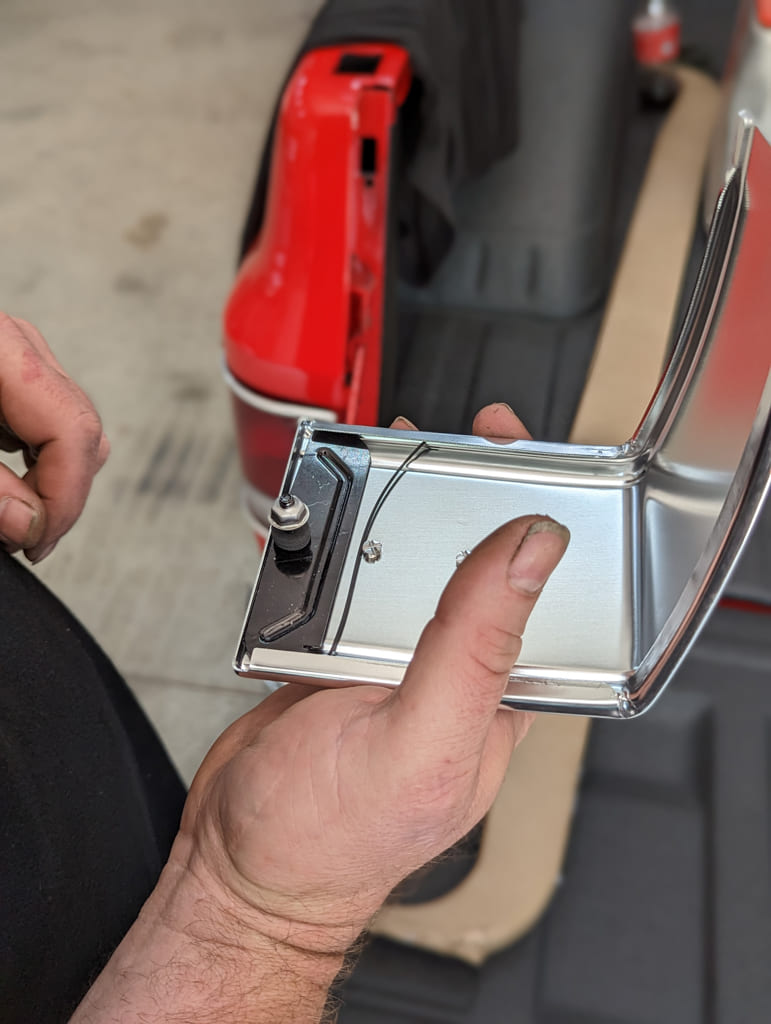
Although the original clips may look in great condition, remember these have been in service for years and may be brittle. The new trim comes complete with hardware, clips, and seals so replacing these is ideal.
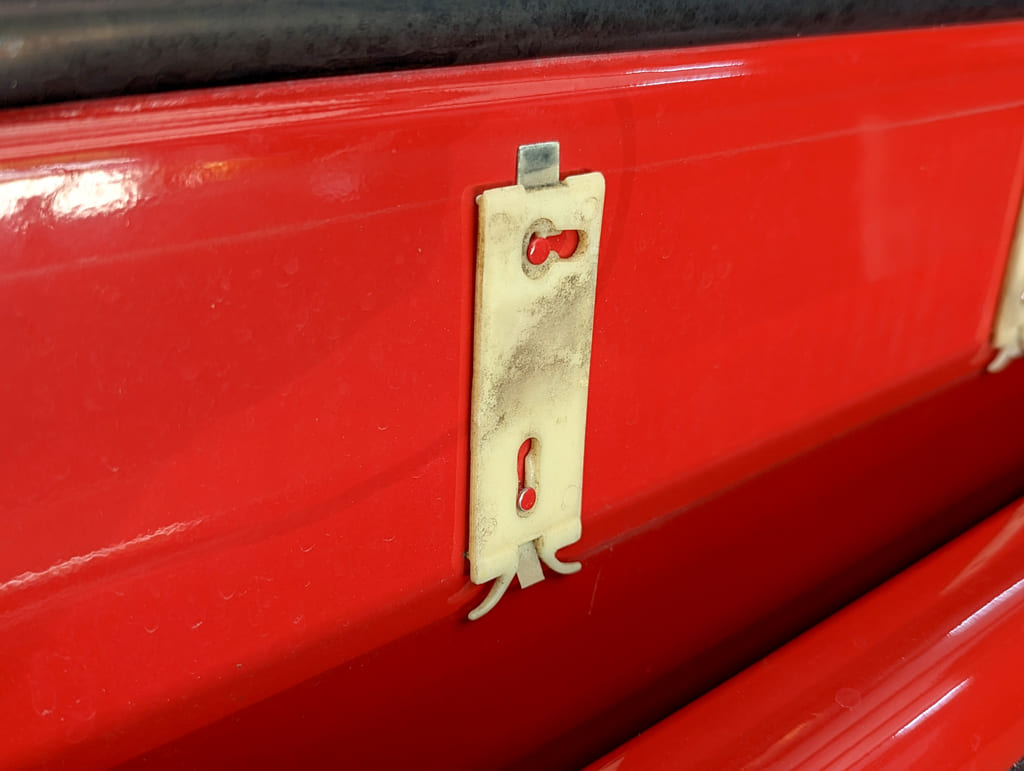
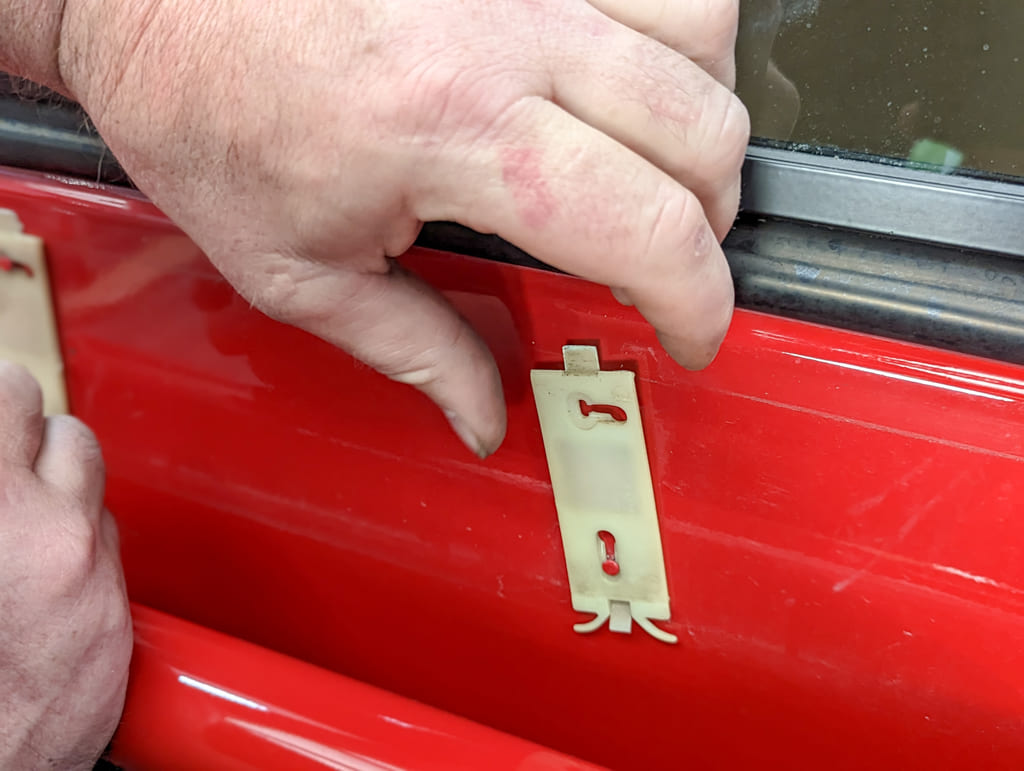
Remove the original clips by sliding the top of the clip to the left and then down.
Reinstall the new clips by installing the bottom stud first…
…rotate, then install the top stud.
Repeat this process along the length of the back of the cab.
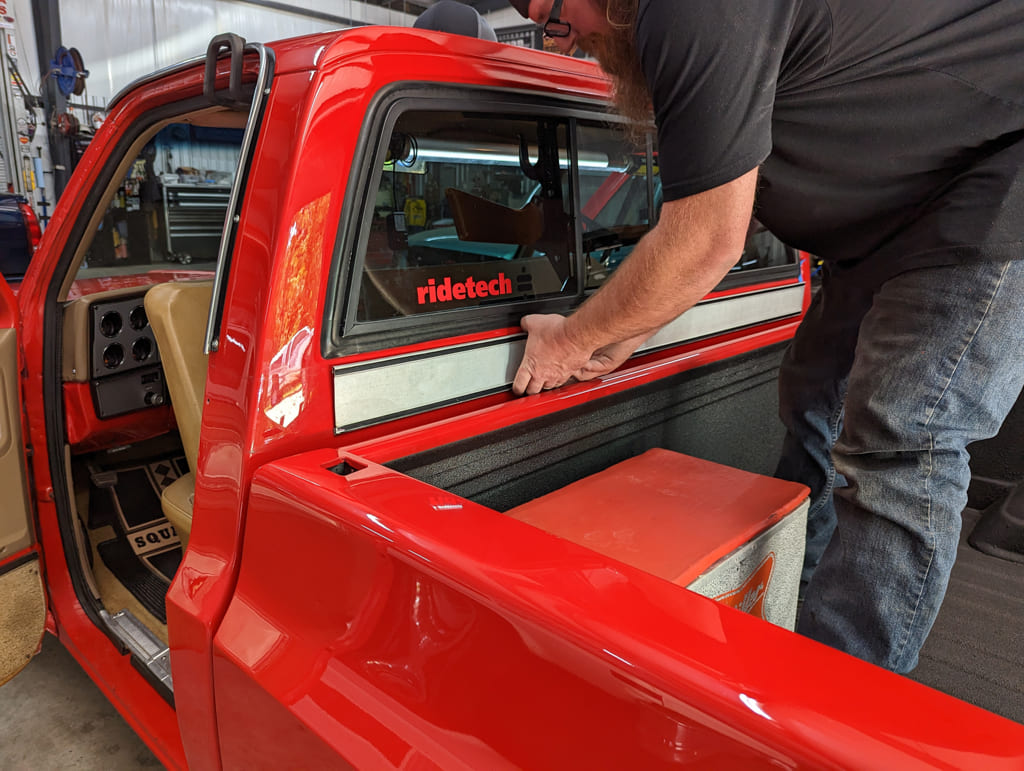
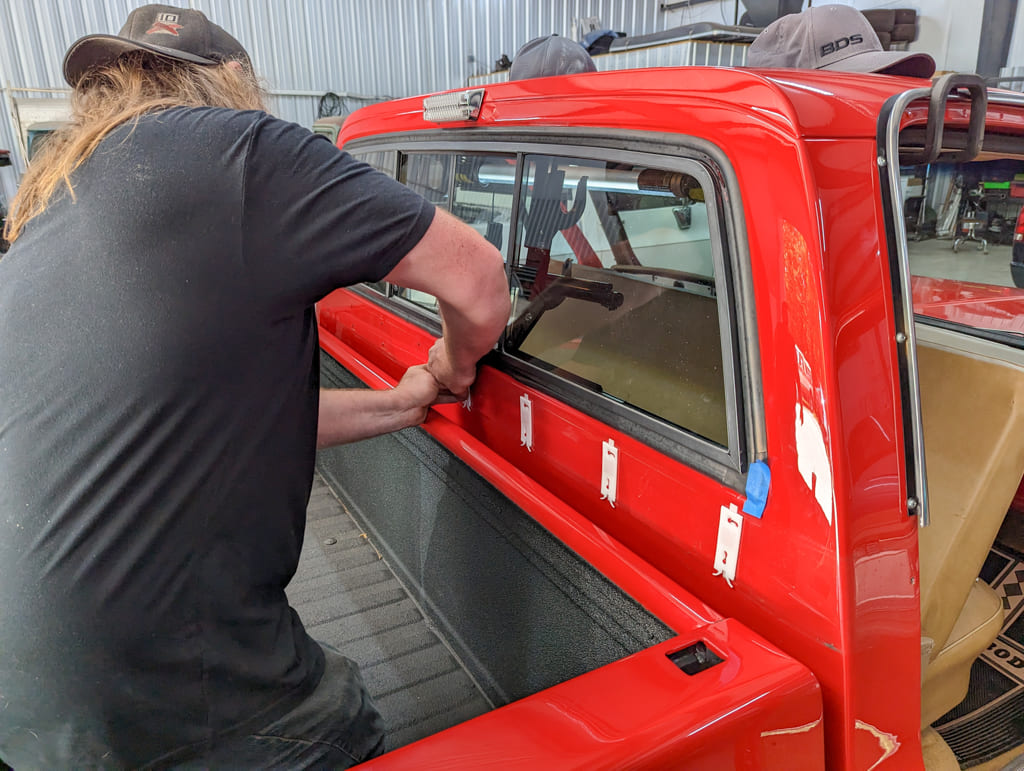
With the new clips in place, Howe is ready to install the new trim.
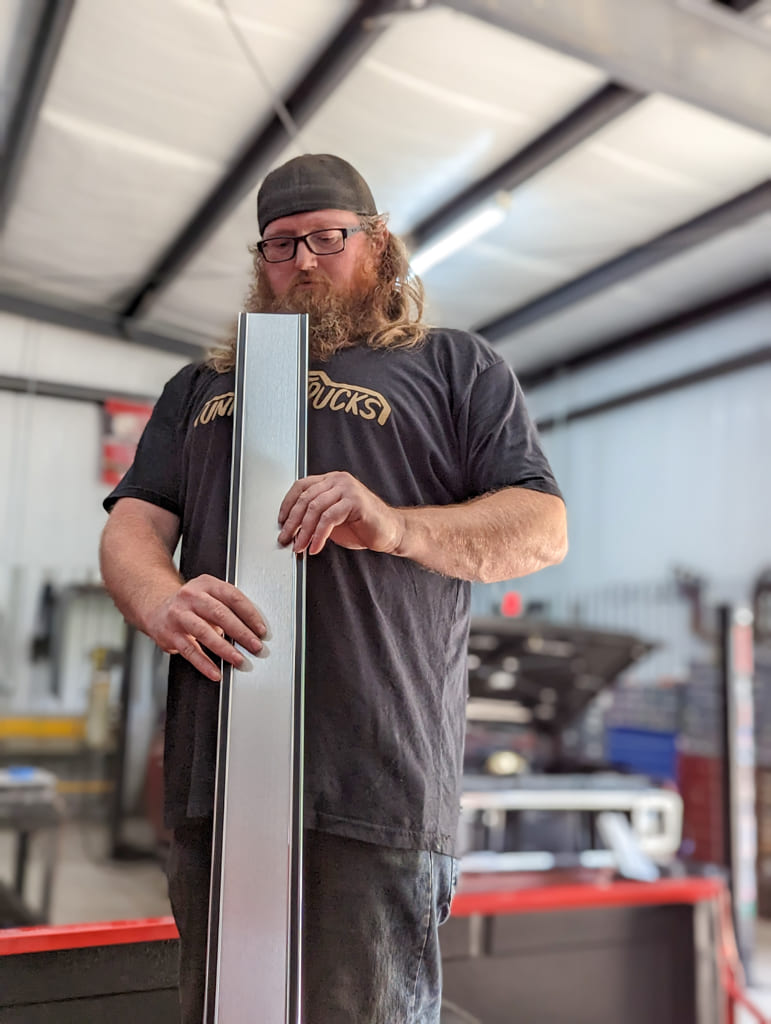
Before installing, inspect the new trim for any issues that may hinder the process.
Howe checks the new trim for alignment with the new clips.
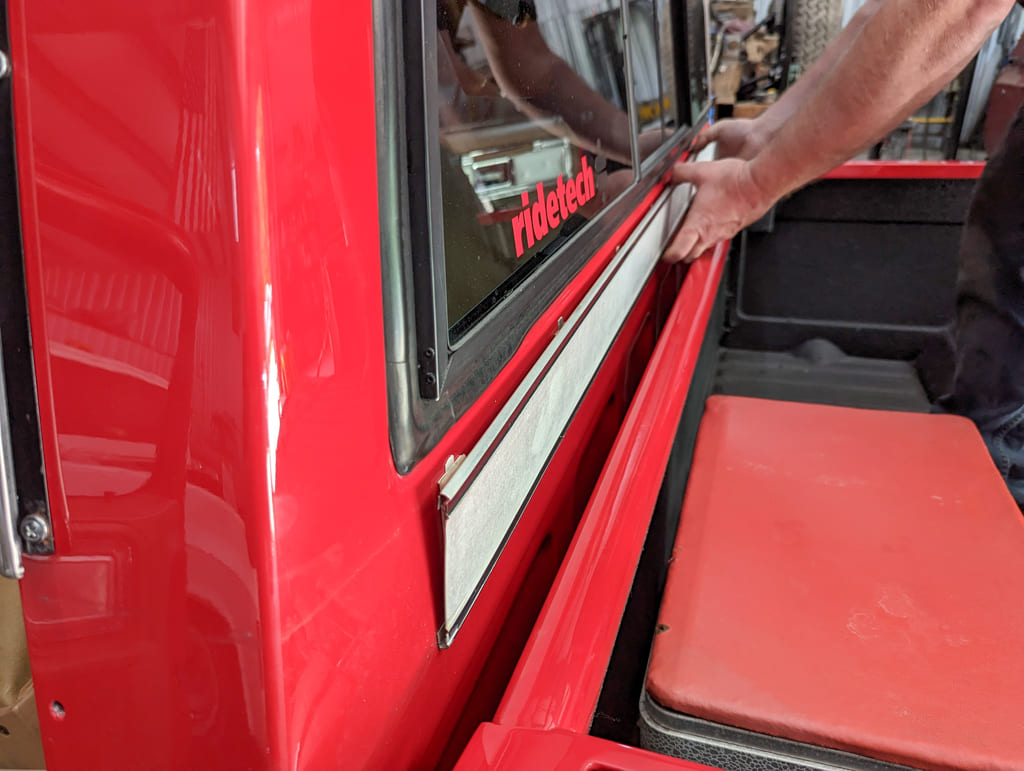
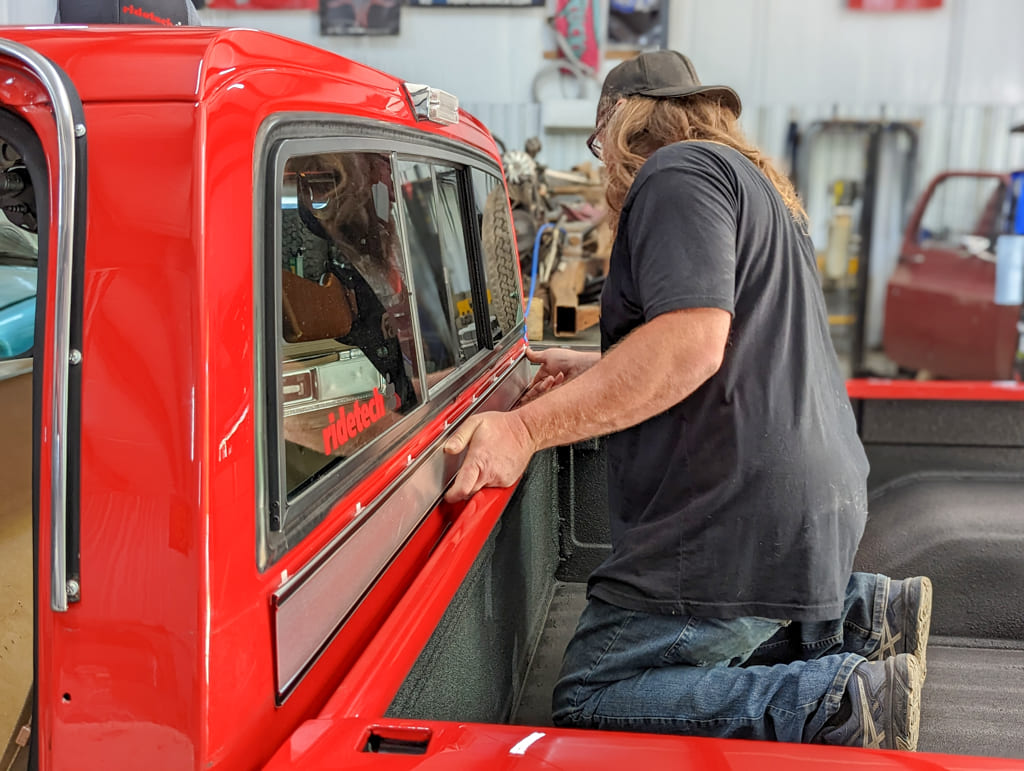
With the alignment of the new trim on his original mark, Howe installs the new trim from the bottom.
The clips are spring loaded on the bottom…
…install the trim by pushing up on the bottom until the top clicks into place.
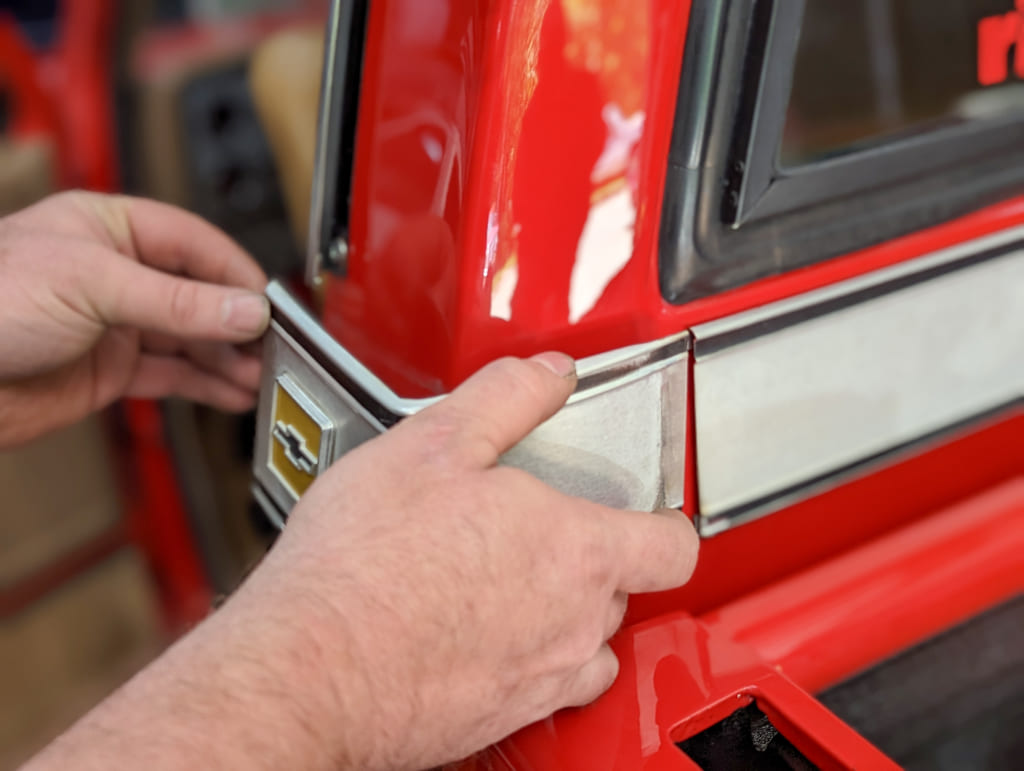
Install the supplied spring clips in the corner pieces.
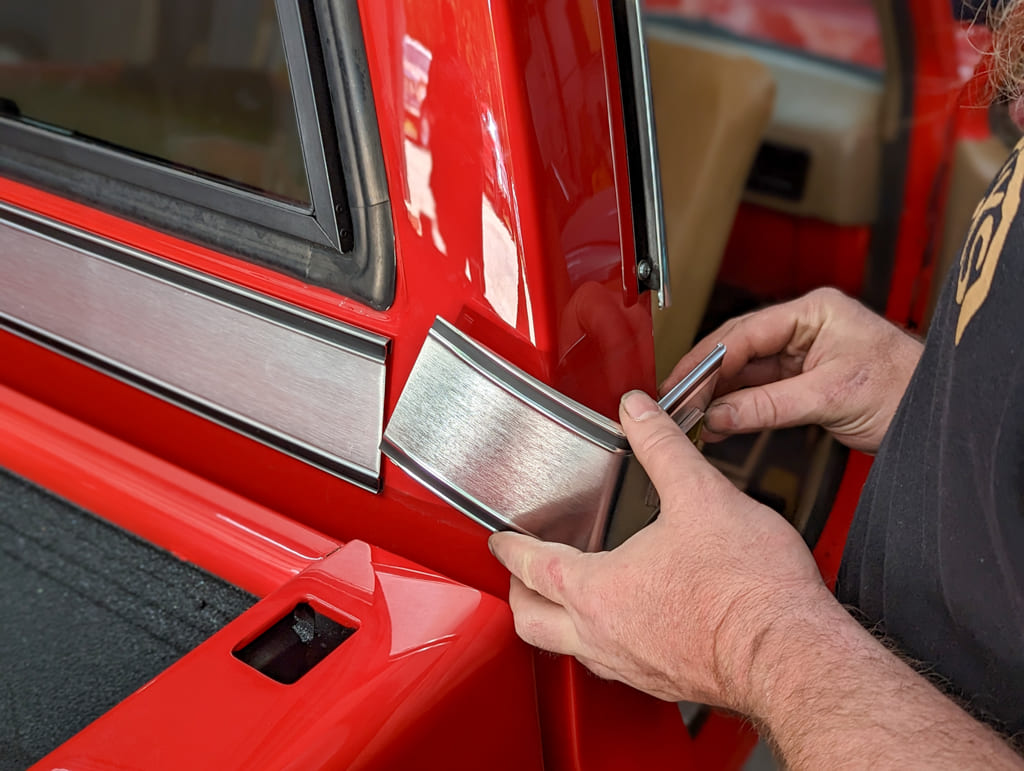
The corners are a tight fit in the center piece, take your time…
…and be careful not to scratch the paint.
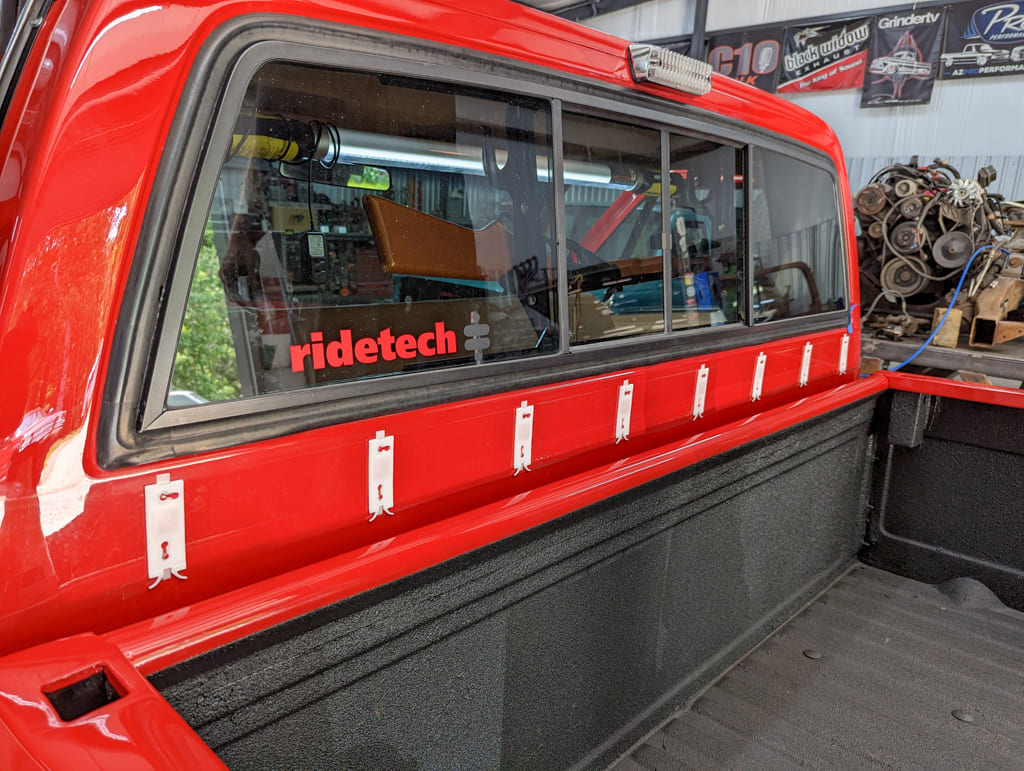
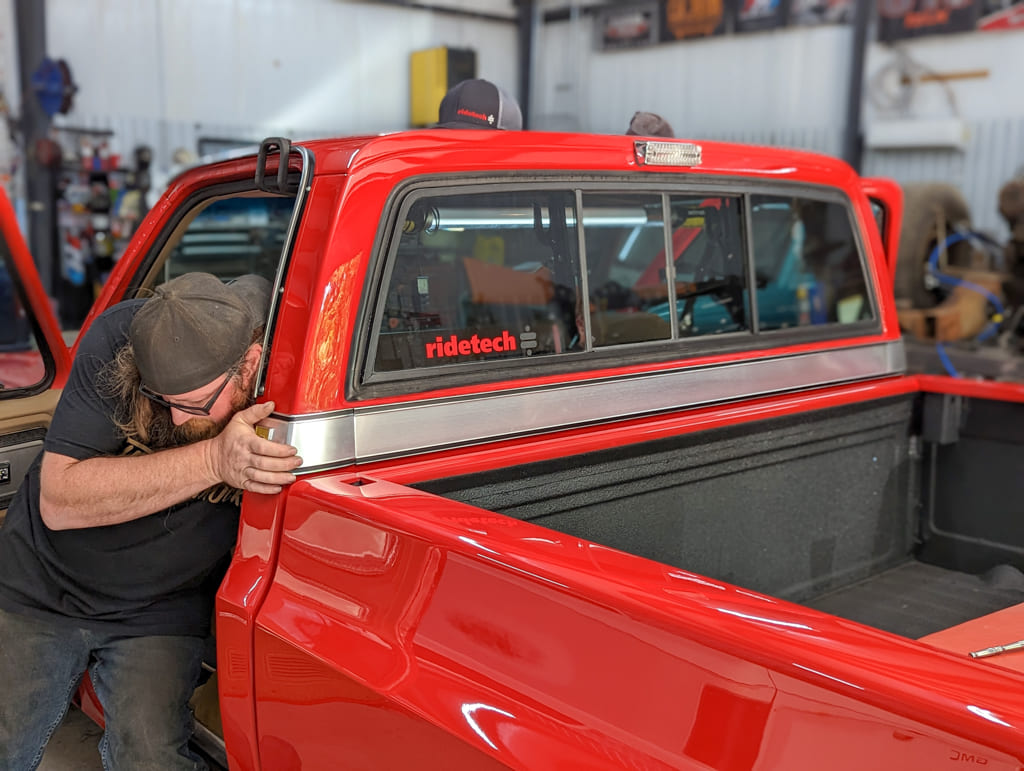
With the corners lined up and in place, tighten the speed nuts from inside the cab.Sensing’s beautiful Big 10 is even better with the new trim!
Sources:
Auto Metal Direct
autometaldirect.com
How’s It Doin’ Garage
instagram.com/howes_it_doin_garage/
Click on this issue’s cover to see the enhanced digital version of Replacing Back Cab Molding on a Chevy Squarebody.
The post Replacing Back Cab Molding on a Chevy Squarebody appeared first on In The Garage Media.