By Gerry Burger – Photography By Chadly Johnson
First or repro? It is a longtime very hot rodder’s fight with no a person suitable answer. On the one particular hand, there is something specific about restoring that authentic tin. There just seems to be a bit much more “soul” in 68-calendar year-old fenders, but on the other hand, there is a solid argument for today’s significant-good quality replica sheet metal. If that genuine fender involves way too a lot repair you can drop prey to the previous axiom: “The deal with has been replaced a few moments, and the head twice, but it is nevertheless Grandpa’s axe.” Likewise, be absolutely sure to purchase top quality replica sheet metallic so you do not end up executing too much function for appropriate suit. In the conclude, the determination arrives down to a excellent, straightforward evaluation, the availability of excellent new tin, all blended with just a bit of opinion for flavor.
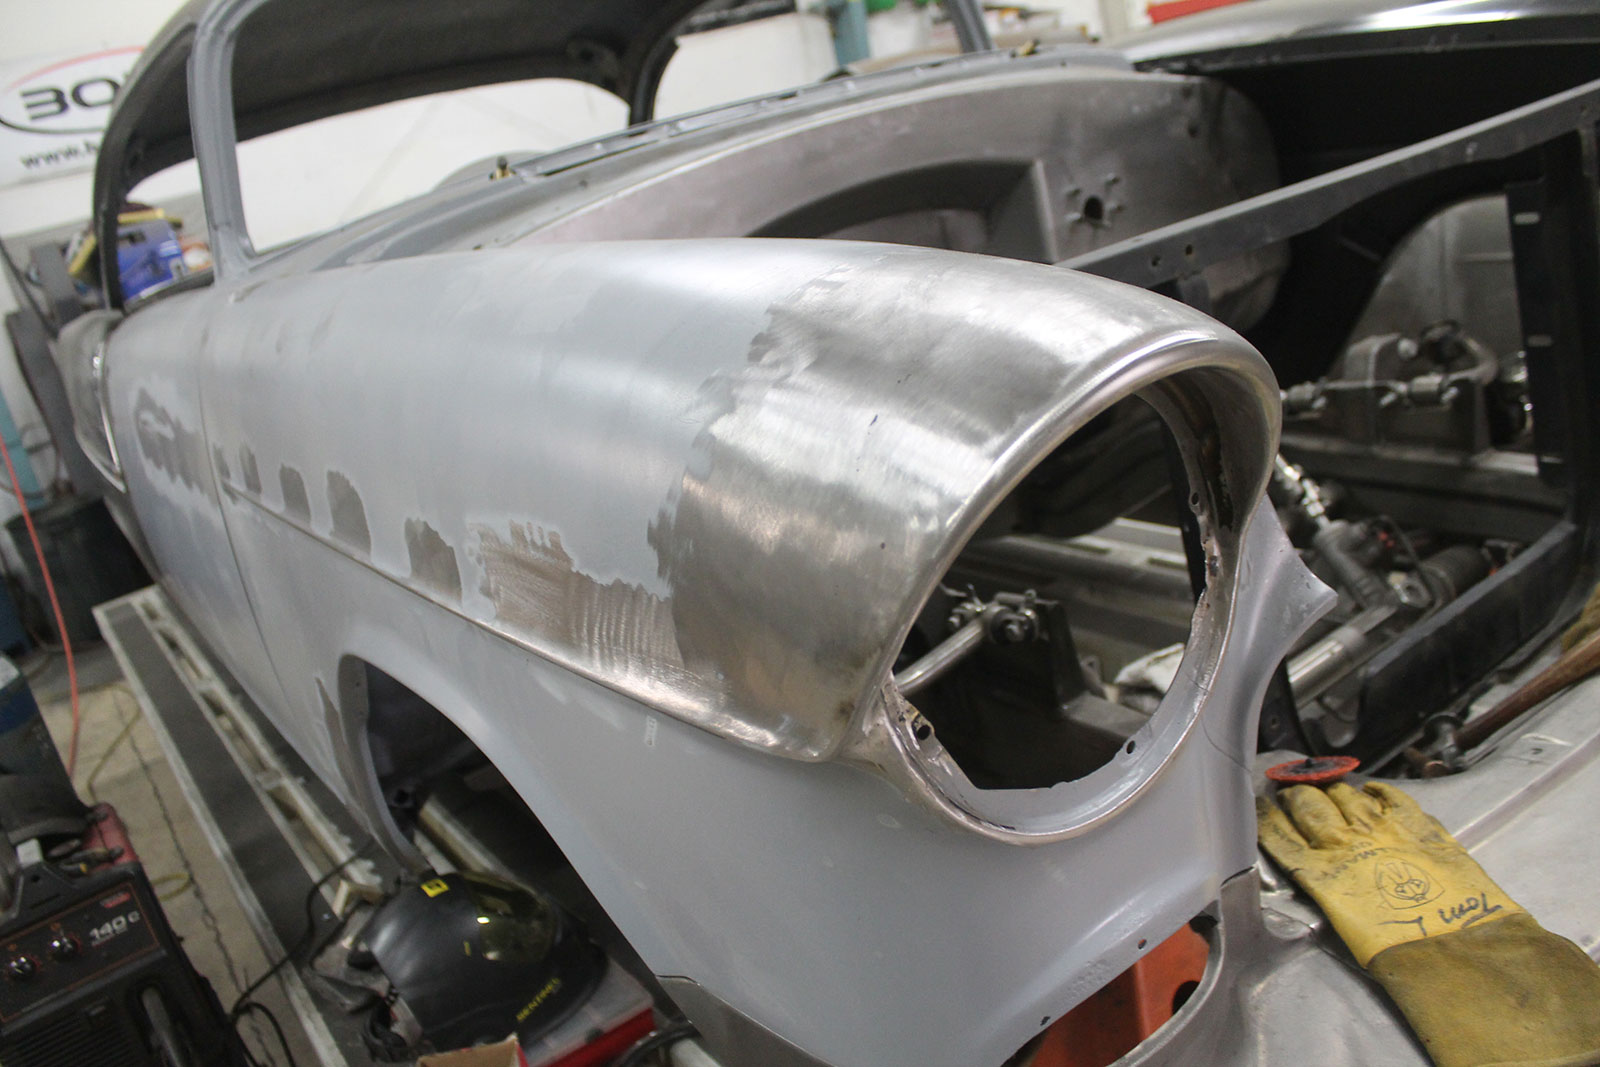
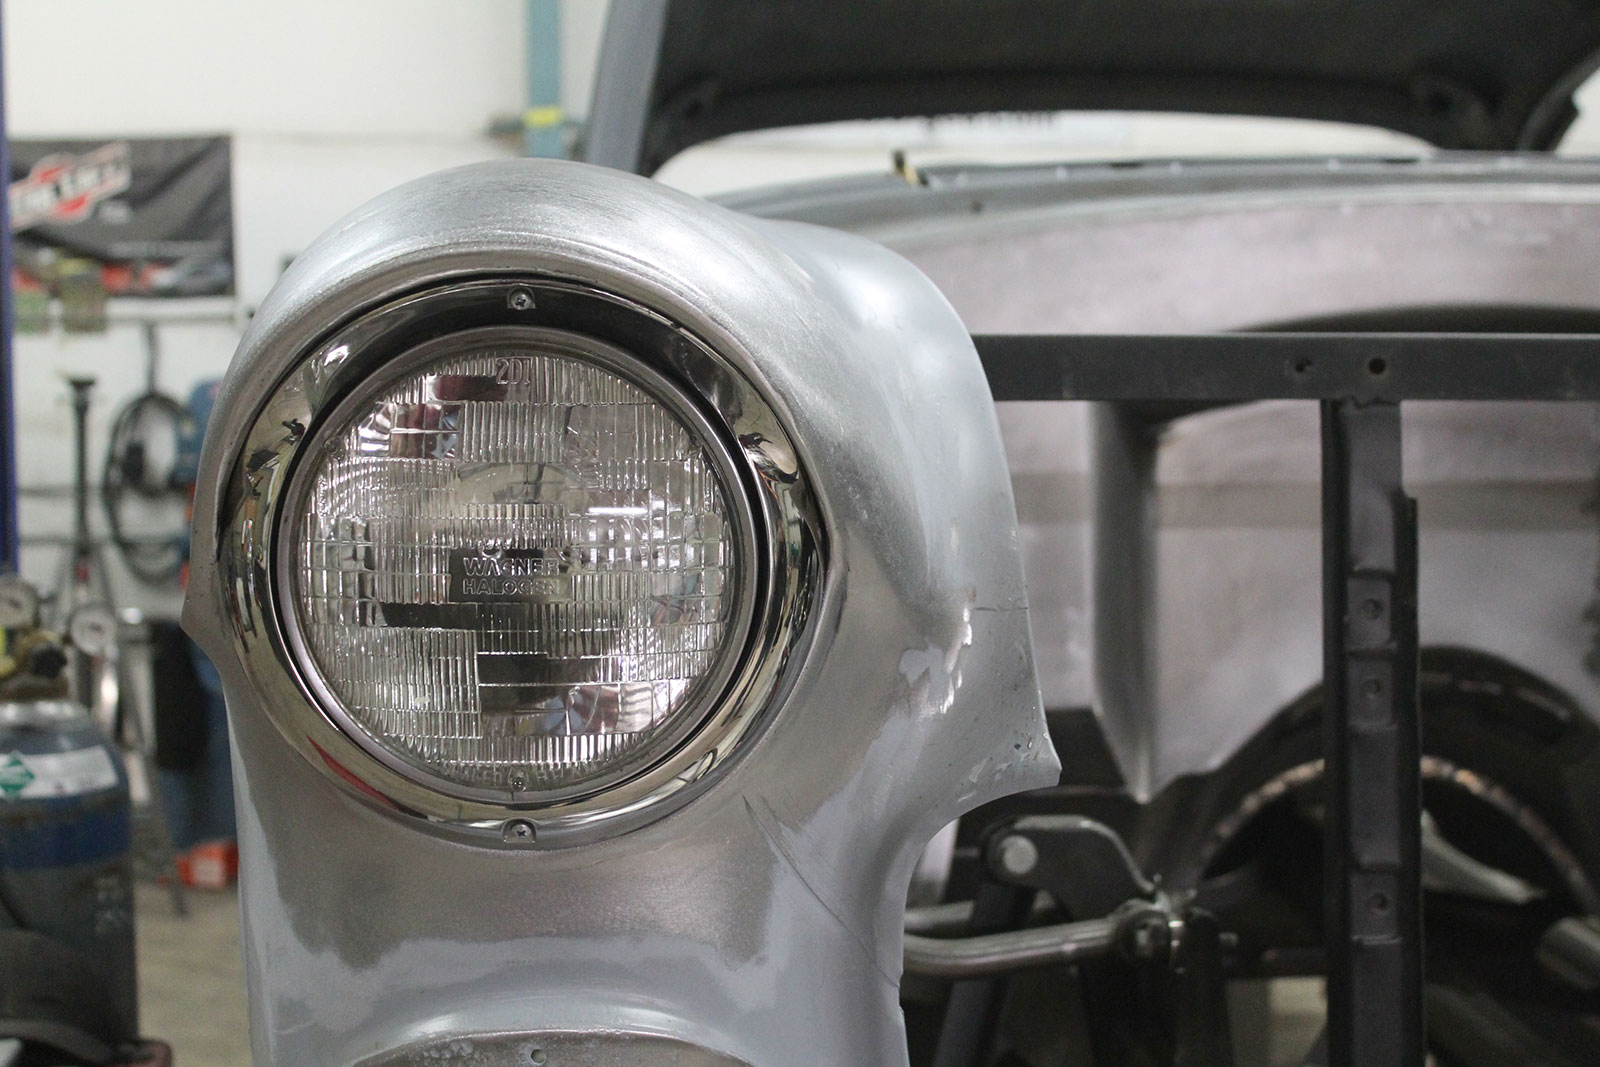
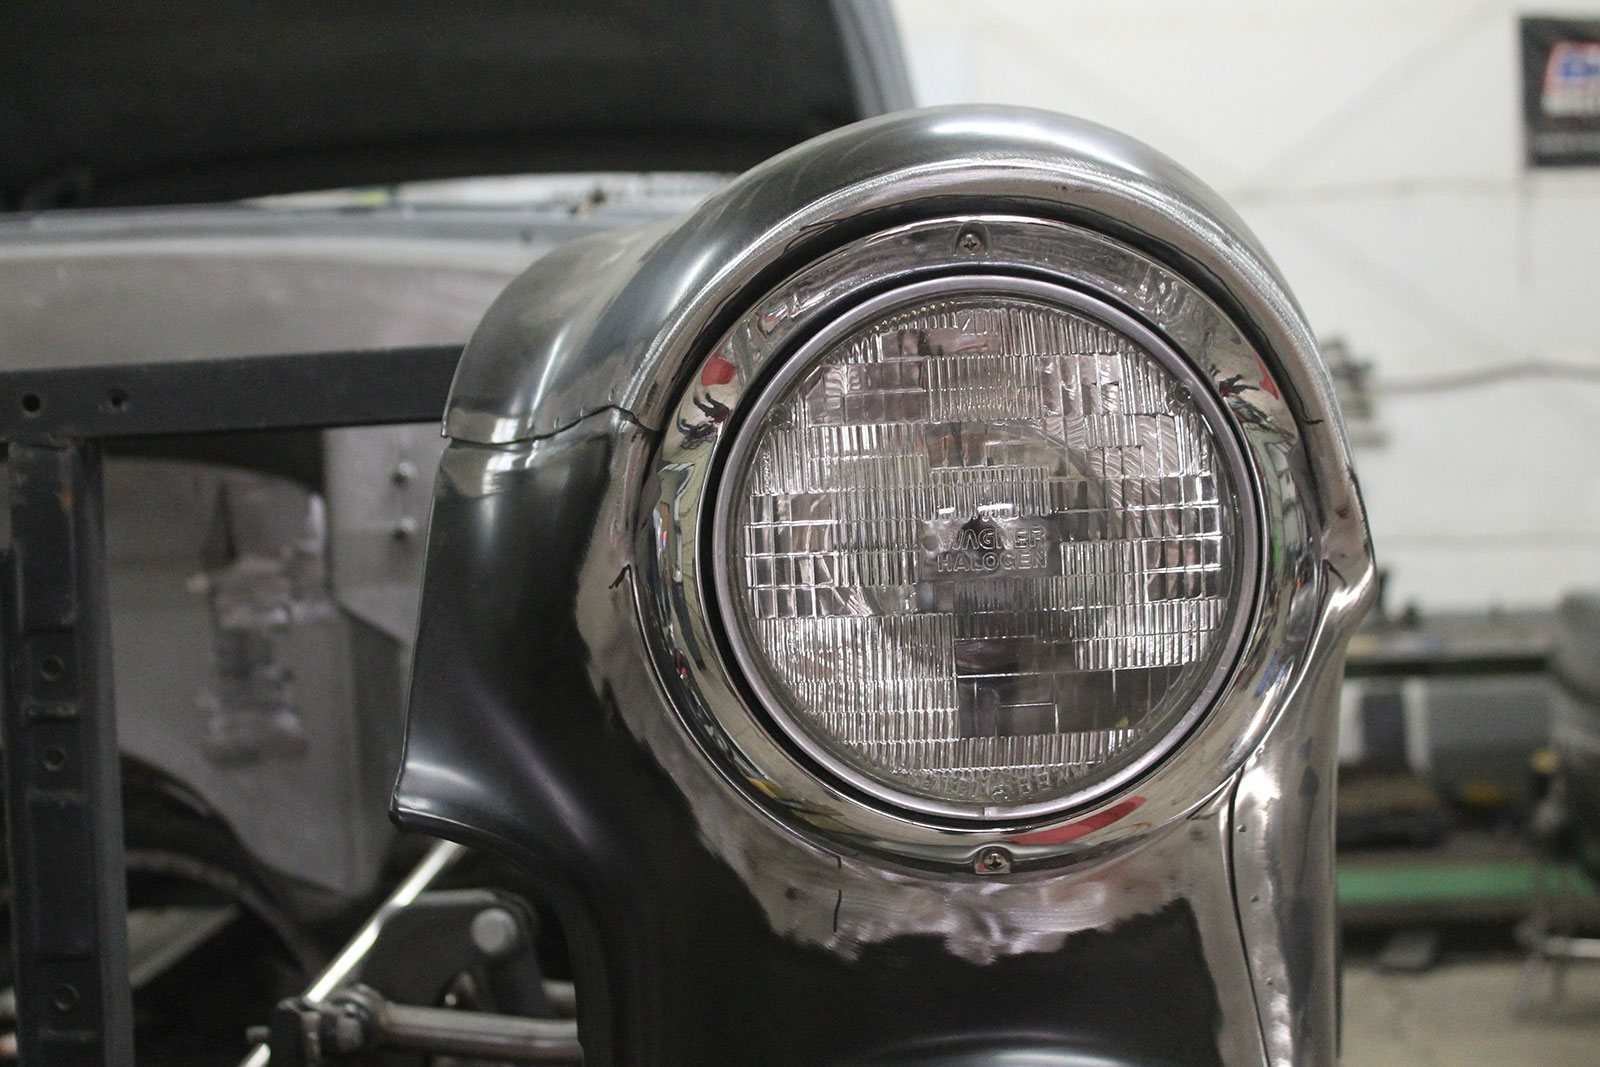
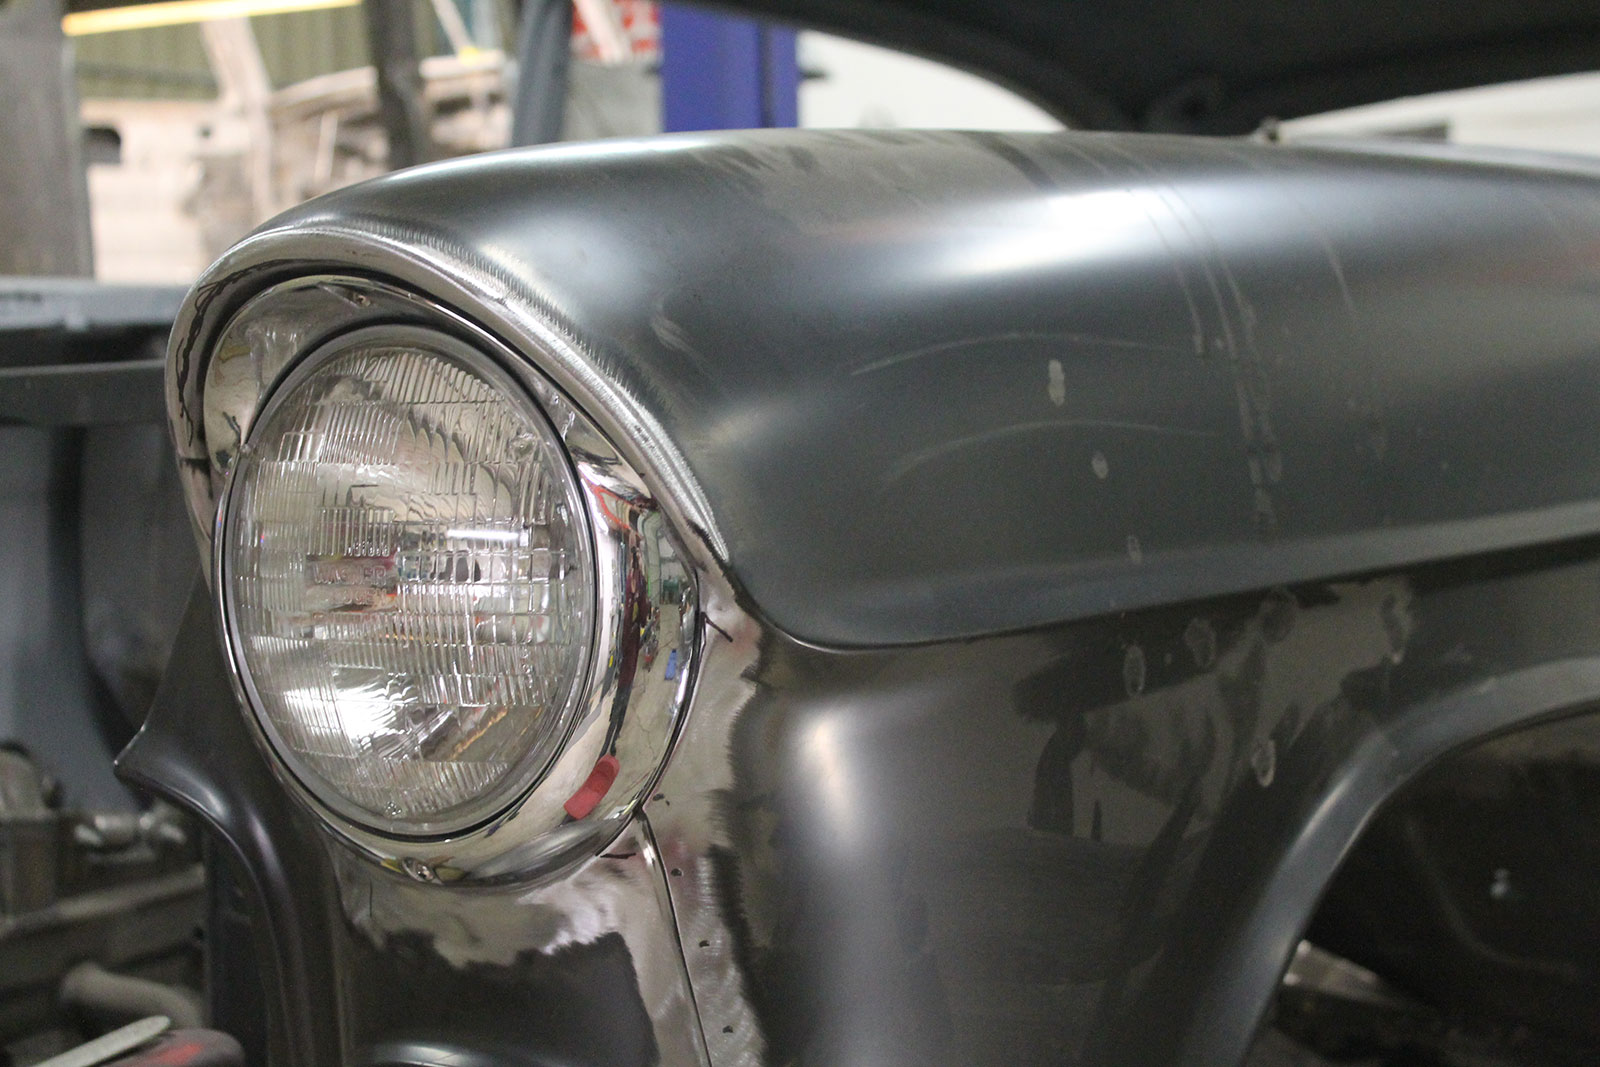
The original fender was really straight and rust-cost-free besides for the headlight brow. The trim holes will also be filled
Study A lot more: A New Suspension on Jason Scudellari’s Brookville Model A
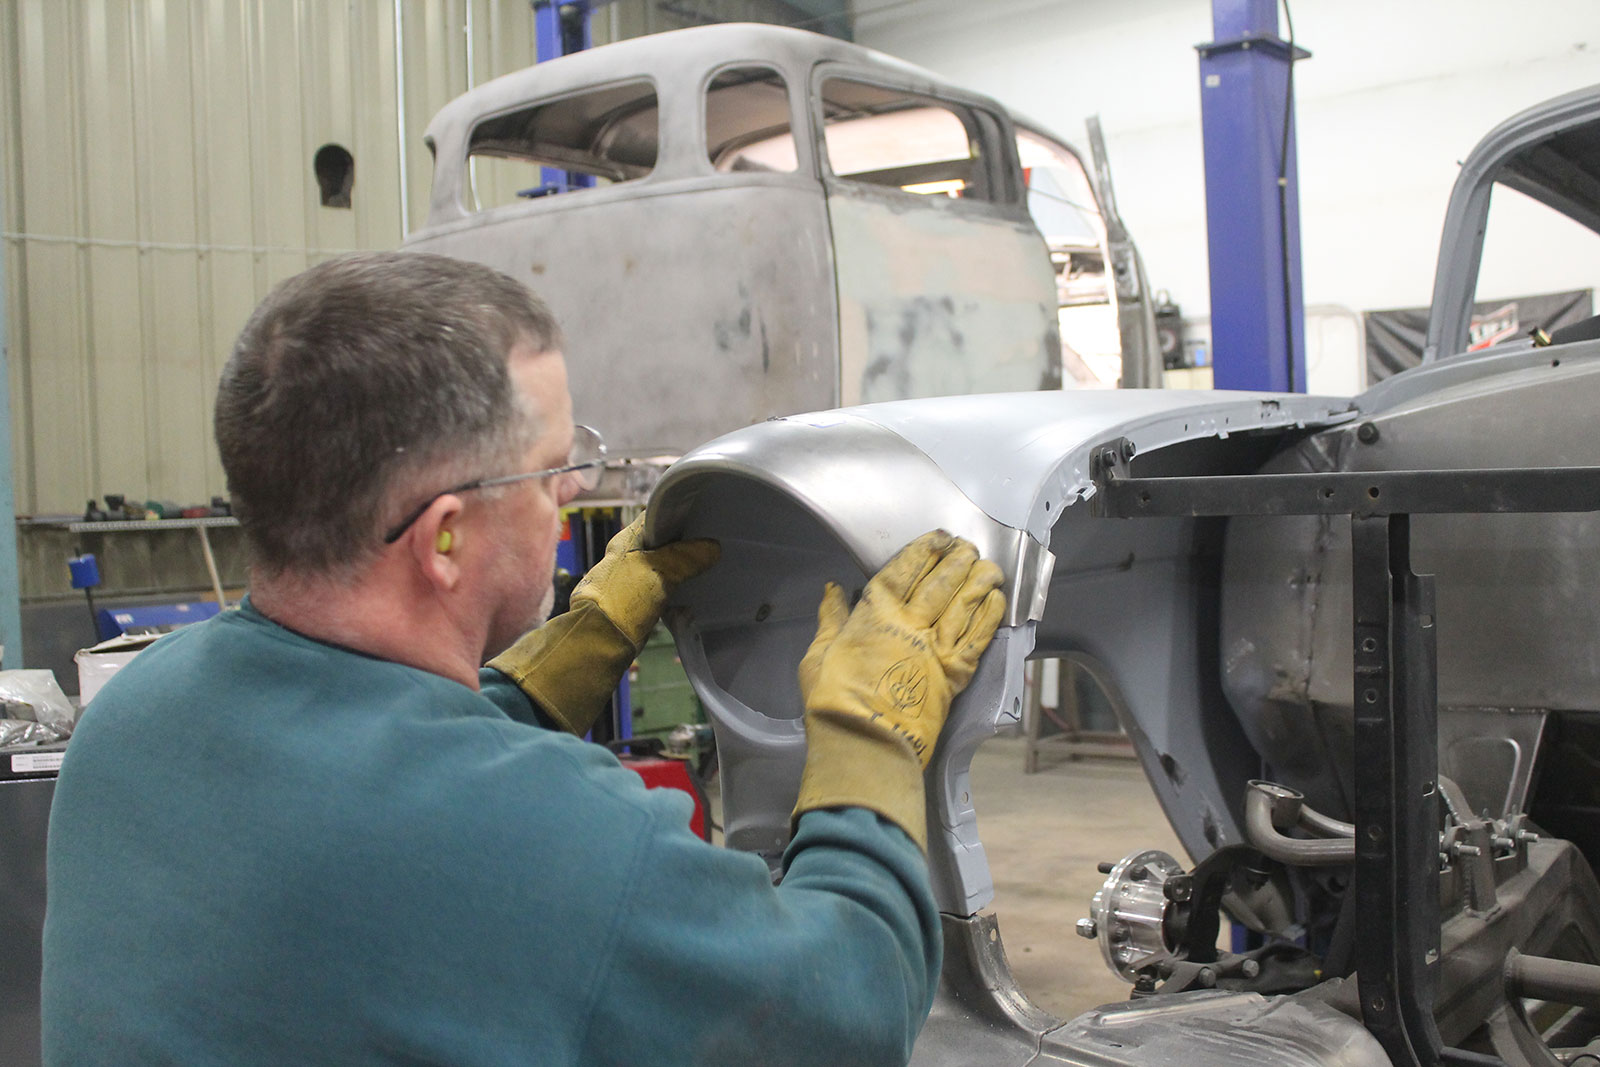
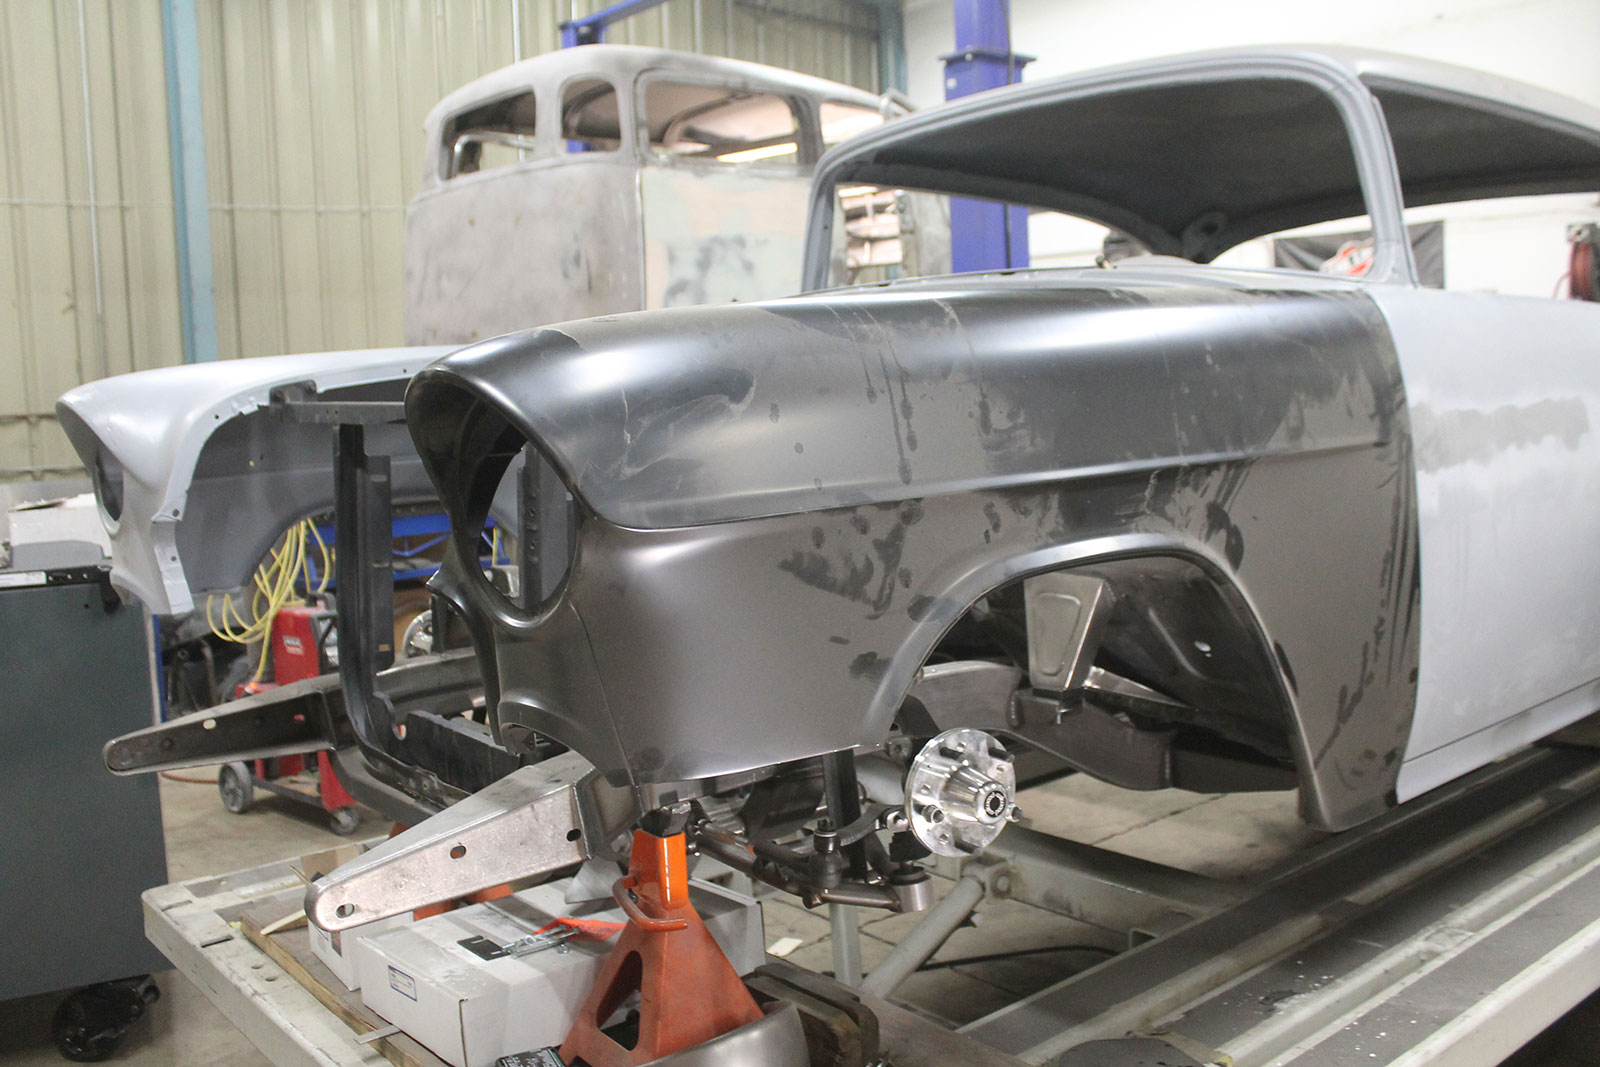
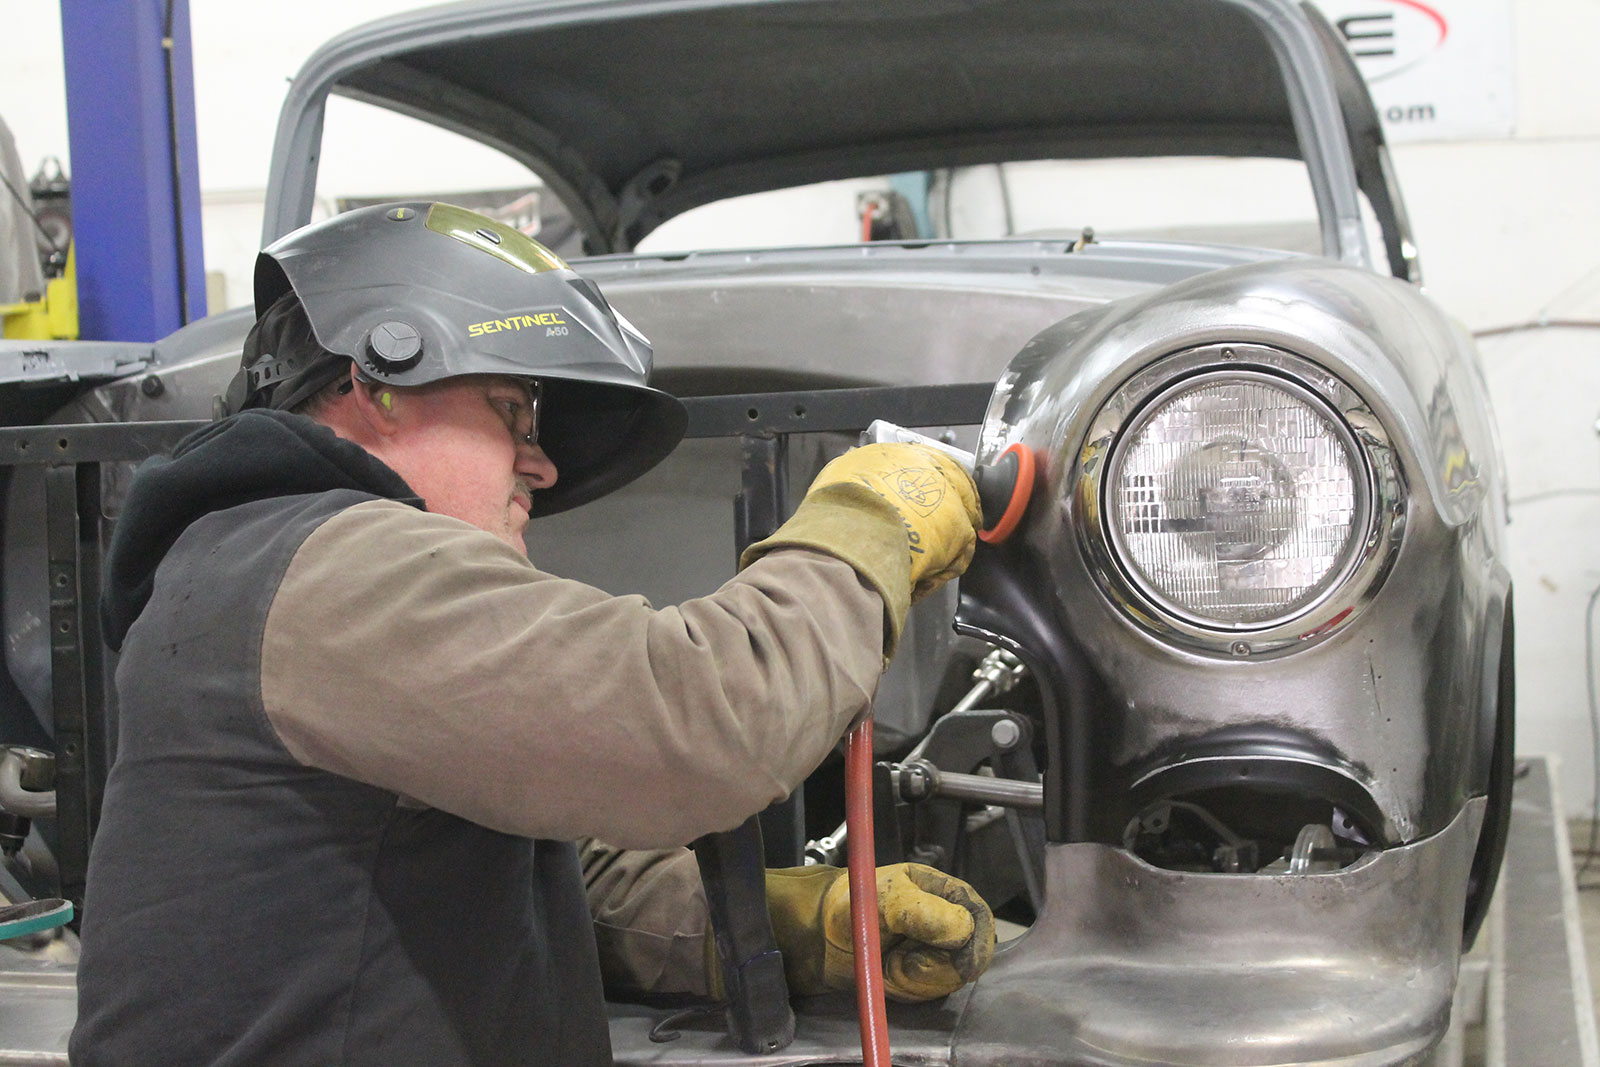
When Jon Mannila and his group of craftsmen at MetalWorks Pace Store in Eugene, Washington, established about assessing the entrance sheetmetal on Dave Goodwin’s ’55 Chevy they realized practically straight away the driver-side fender had troubles producing a substitute fender the superior choice. The passenger aspect fender was a various tale. The fender was remarkably straight and experienced no rust in the decreased extremities or wheel nicely, but there was the frequent challenge of rust more than the headlight and 1 other reasonably modest, damaged region. It is a uncommon ’55 Chevy that does not have fender brow rust. But because that was the only actual challenge (alongside with the small mend and filling some trim holes) it was made the decision the passenger facet was “a keeper.”
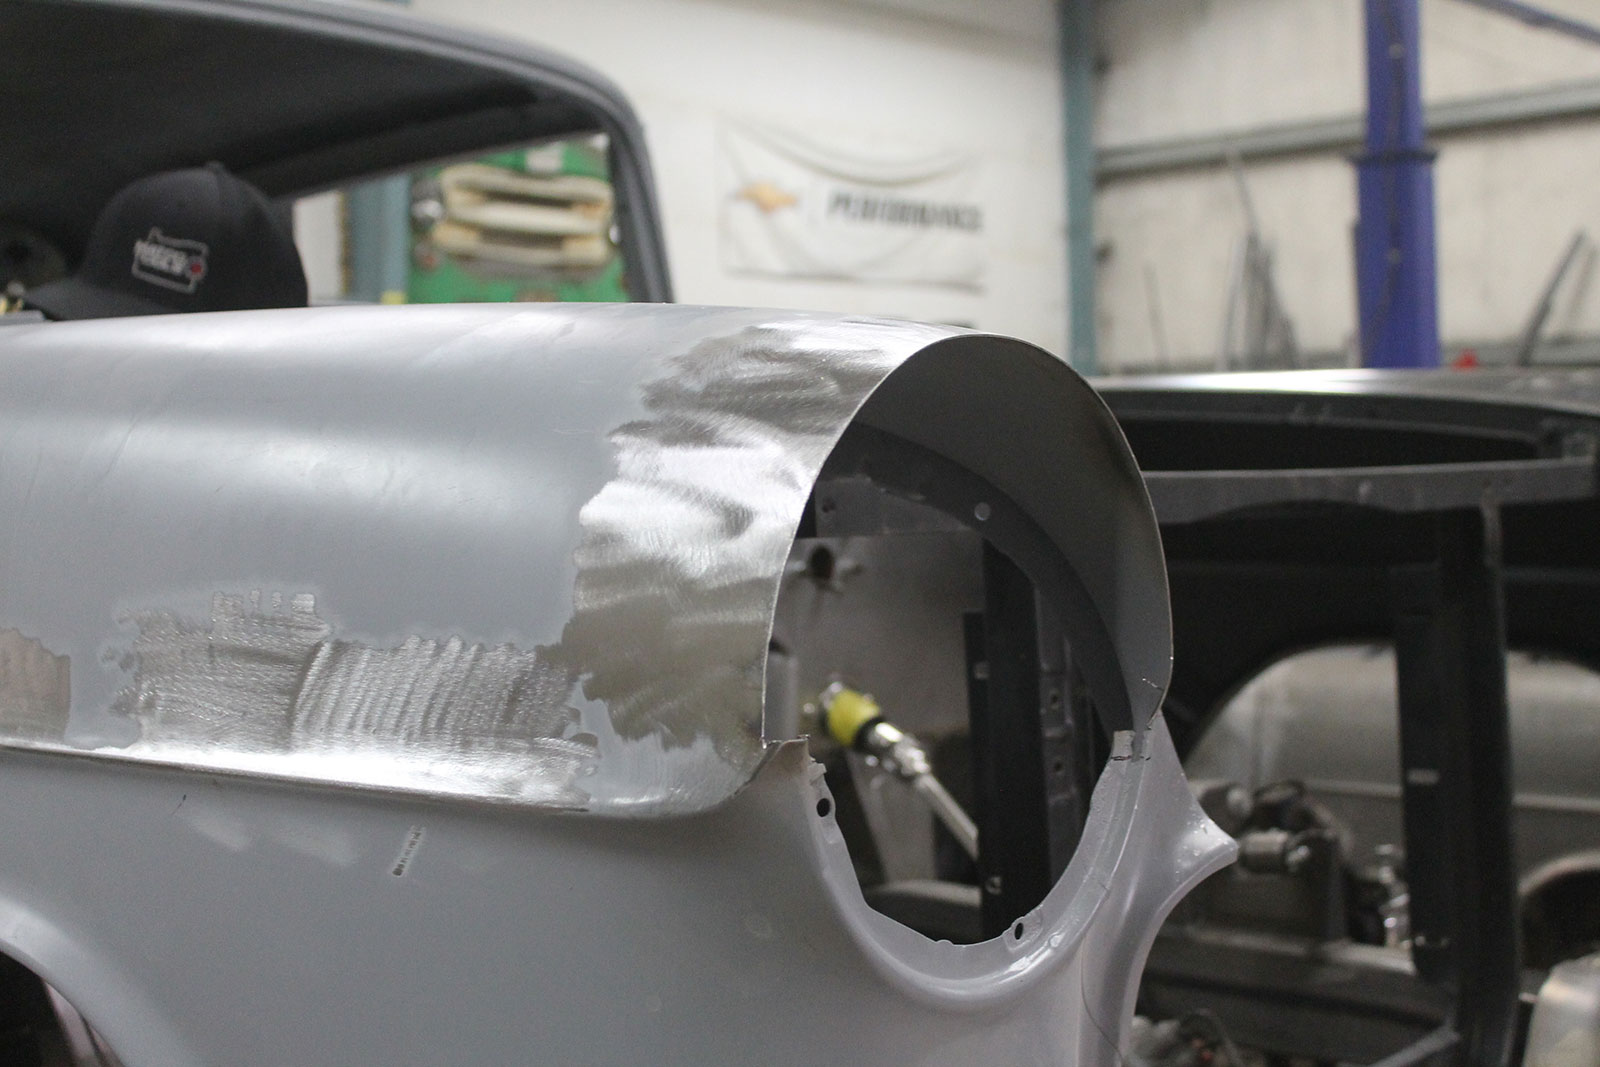
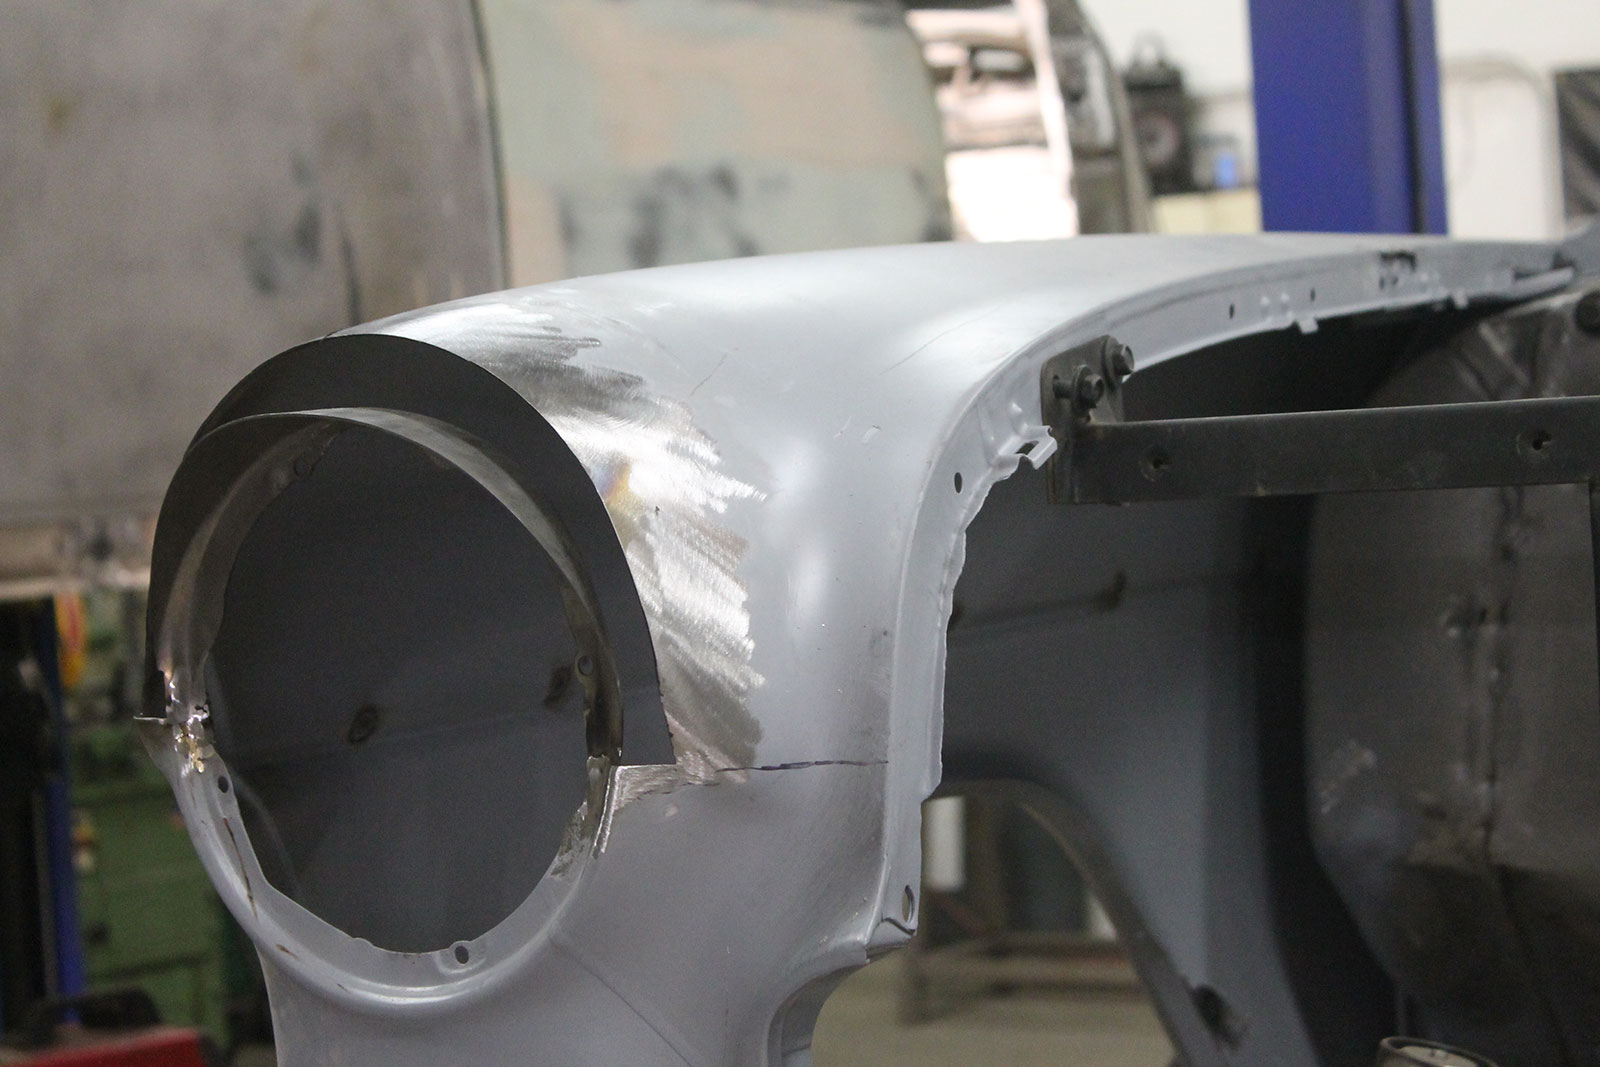
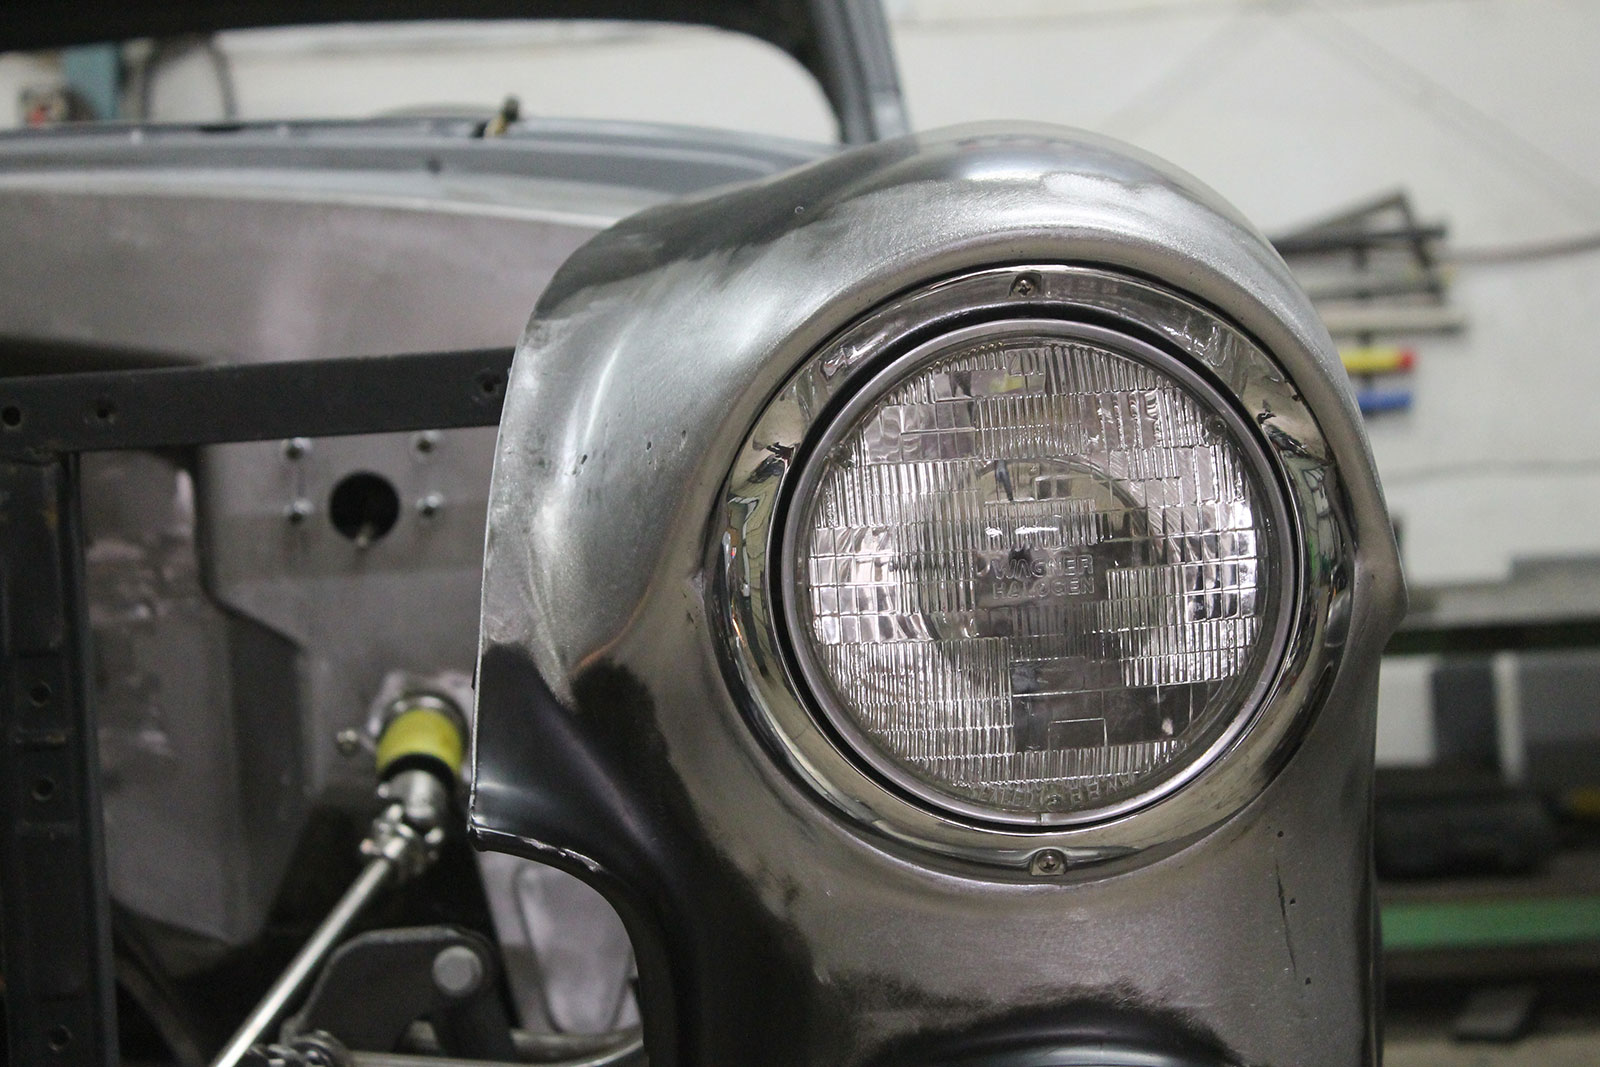
While the brow looked reliable it experienced been repaired in the earlier, so the top rated of the fender was slice off. Leaving the base part of the headlight opening intact is essential for aligning the headlight bucket and trim ring
Read More: Myers’ Fenderless 1936 Ford Roadster
The two fitting new entrance sheet metallic and fender brow maintenance are in the capabilities of a lot of yard sizzling rod builders. More compact initiatives like these provide the perfect platform to acquire your sheet metallic working techniques. Do you know what we imply, maybe attempt a headlight brow right before chopping a best. So, comply with alongside as we present you how the execs at MetalWorks do matters, and maybe you will choose on a identical task with a little bit extra assurance.
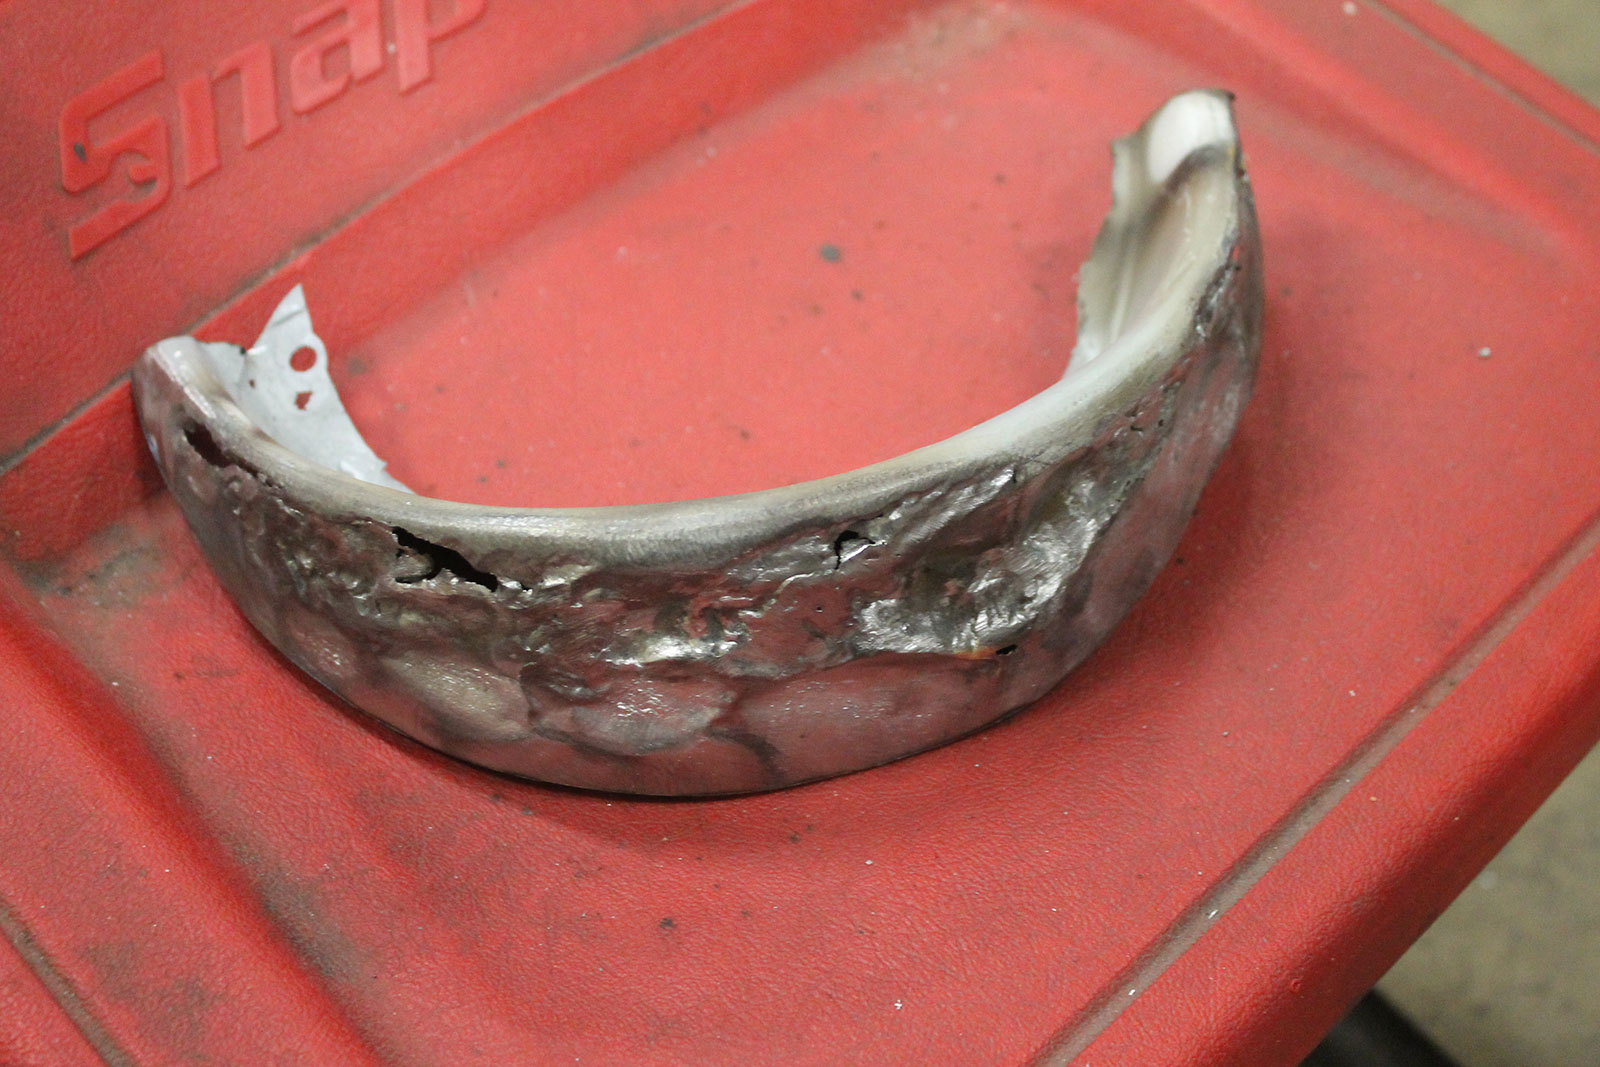
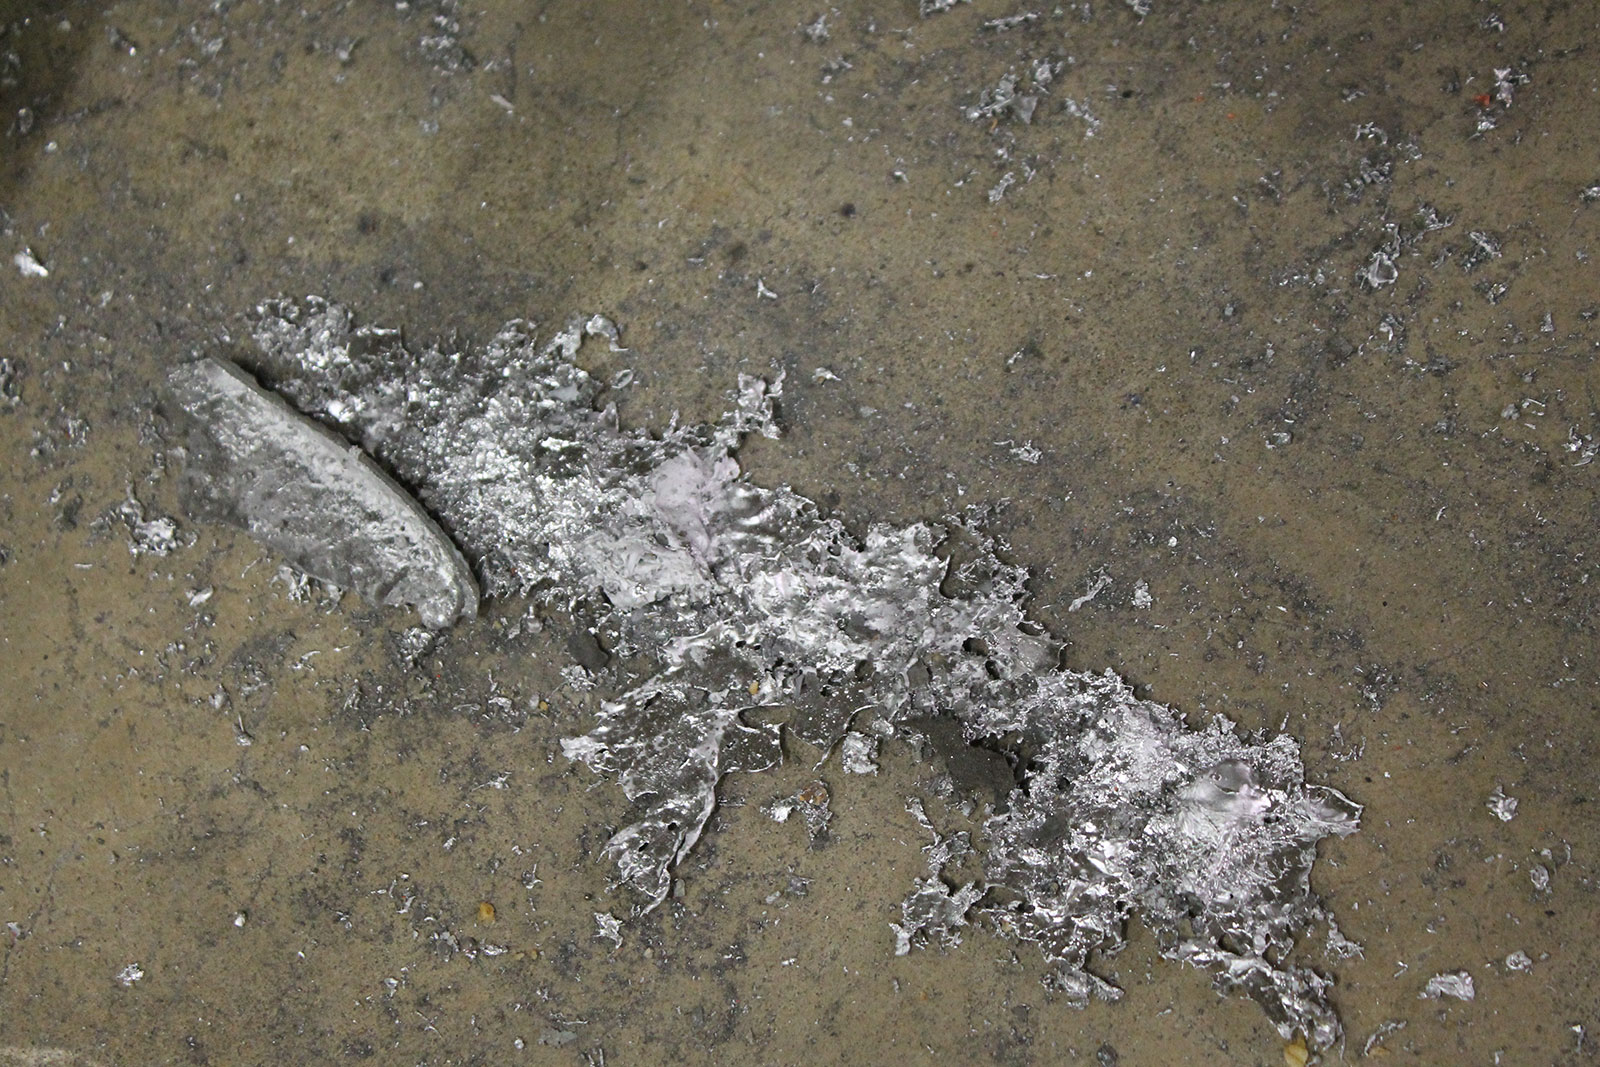
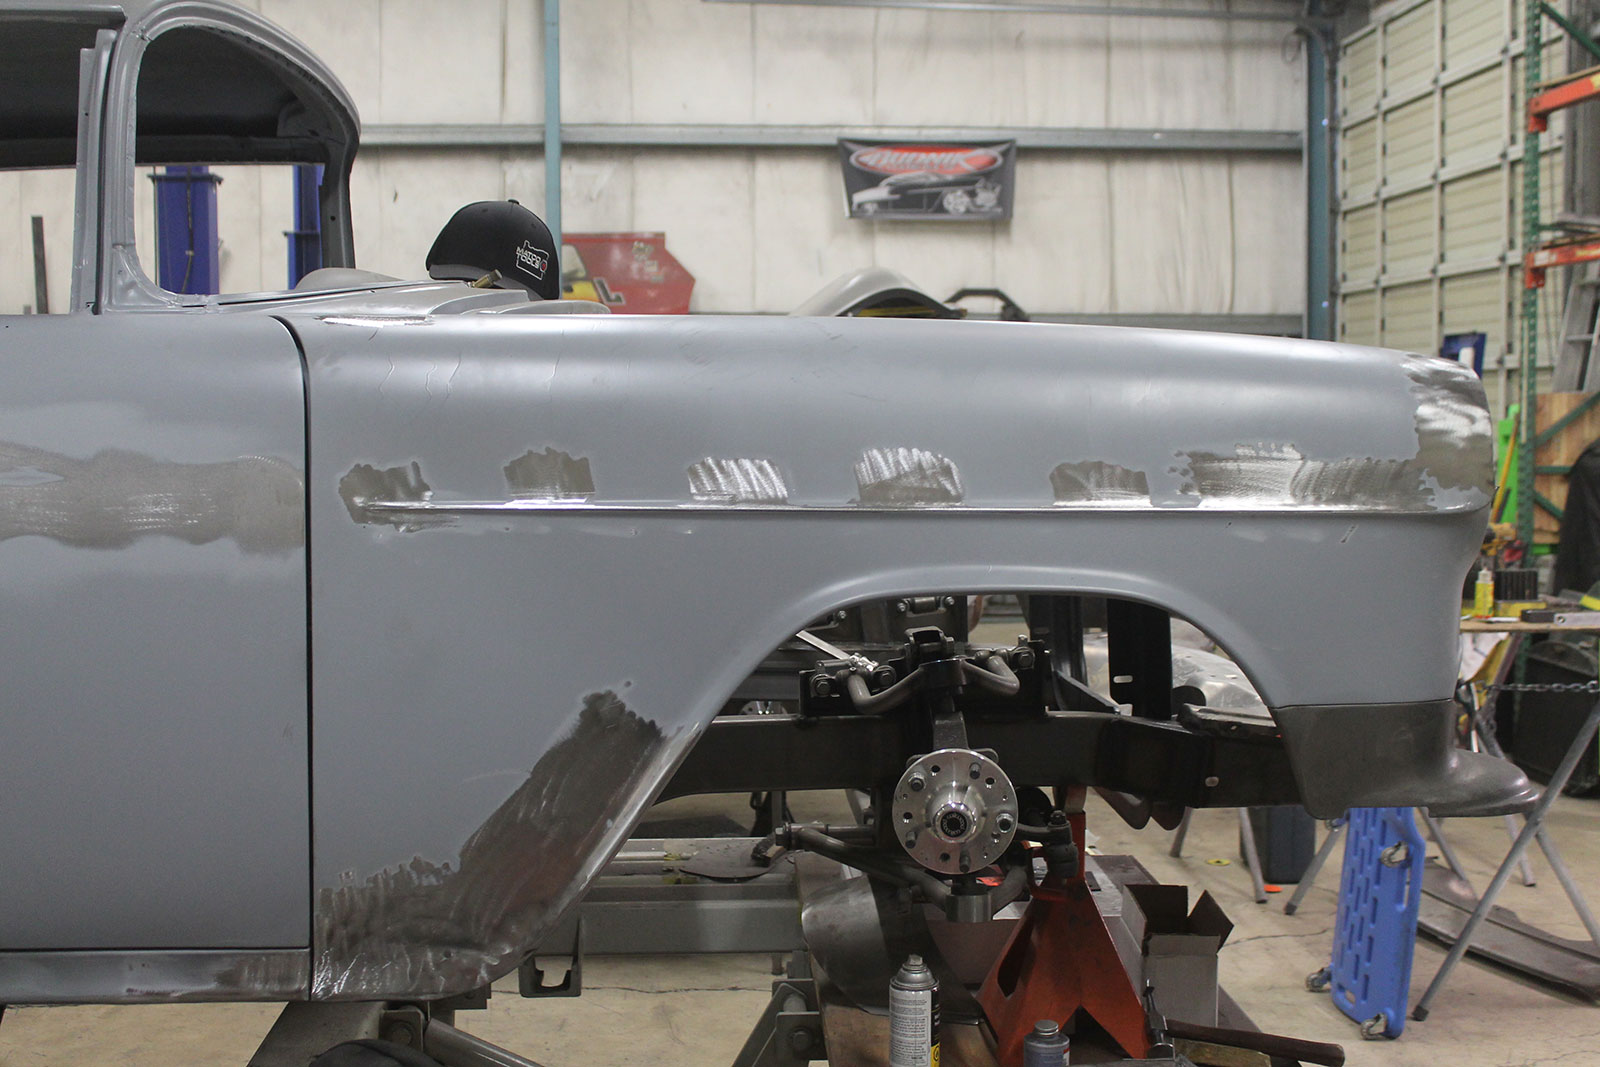
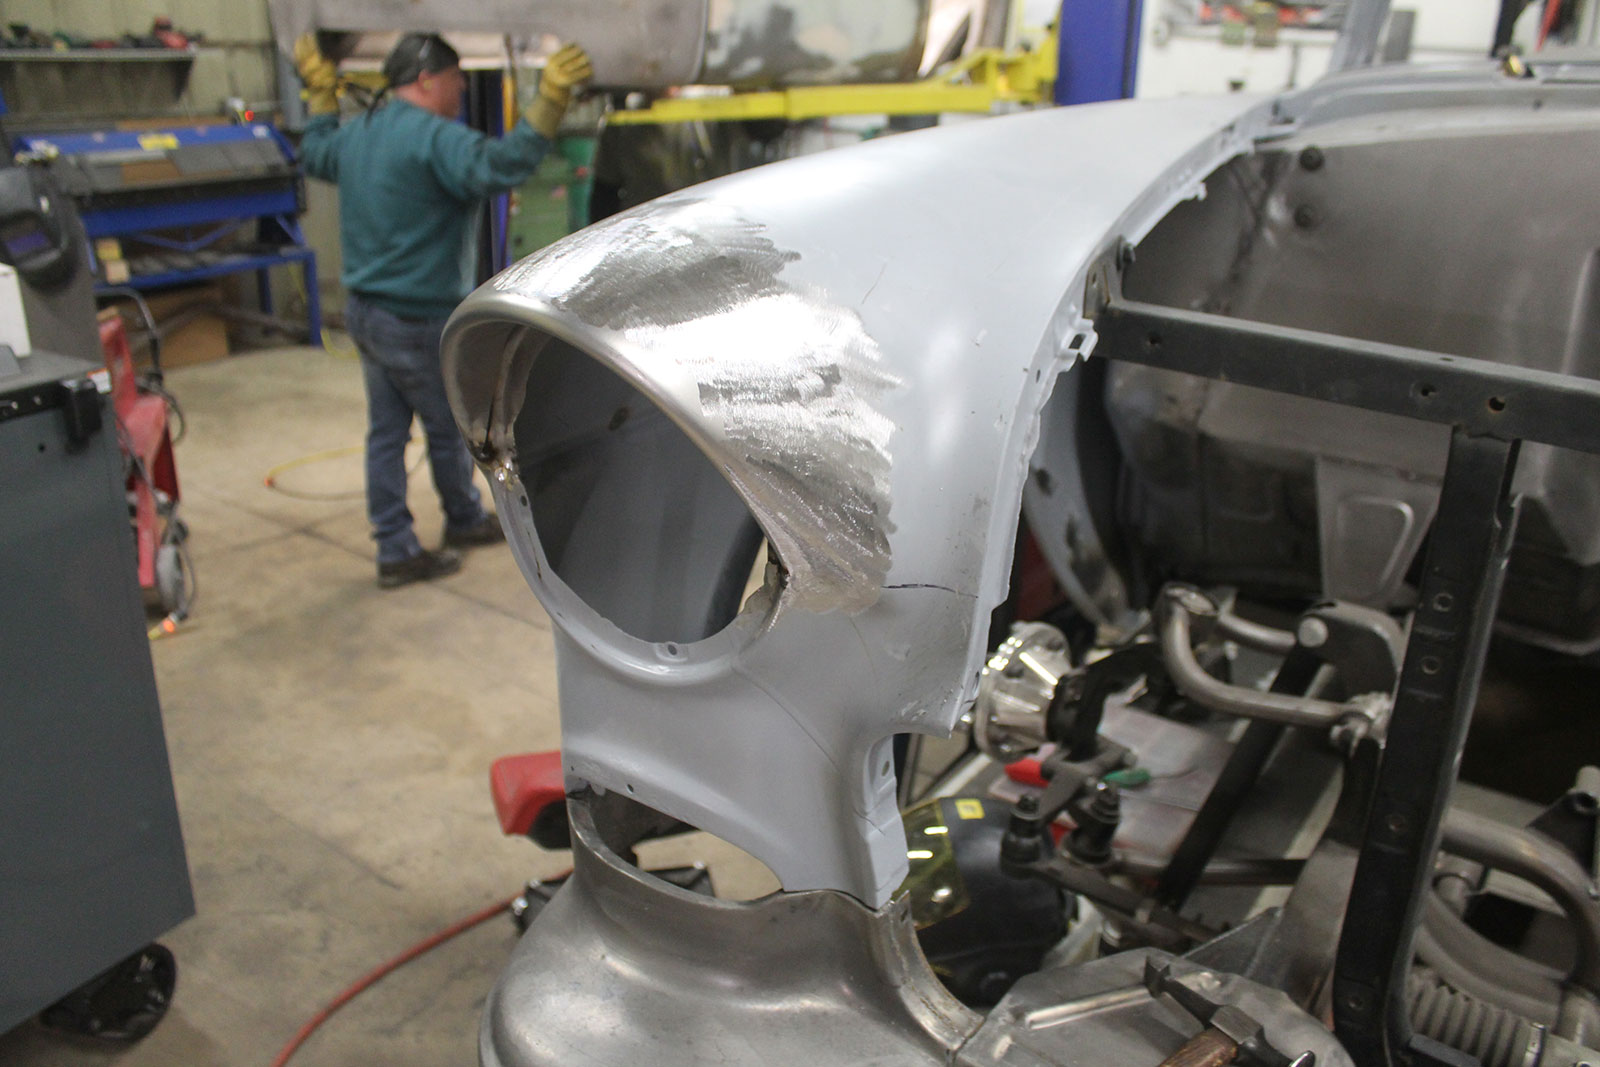
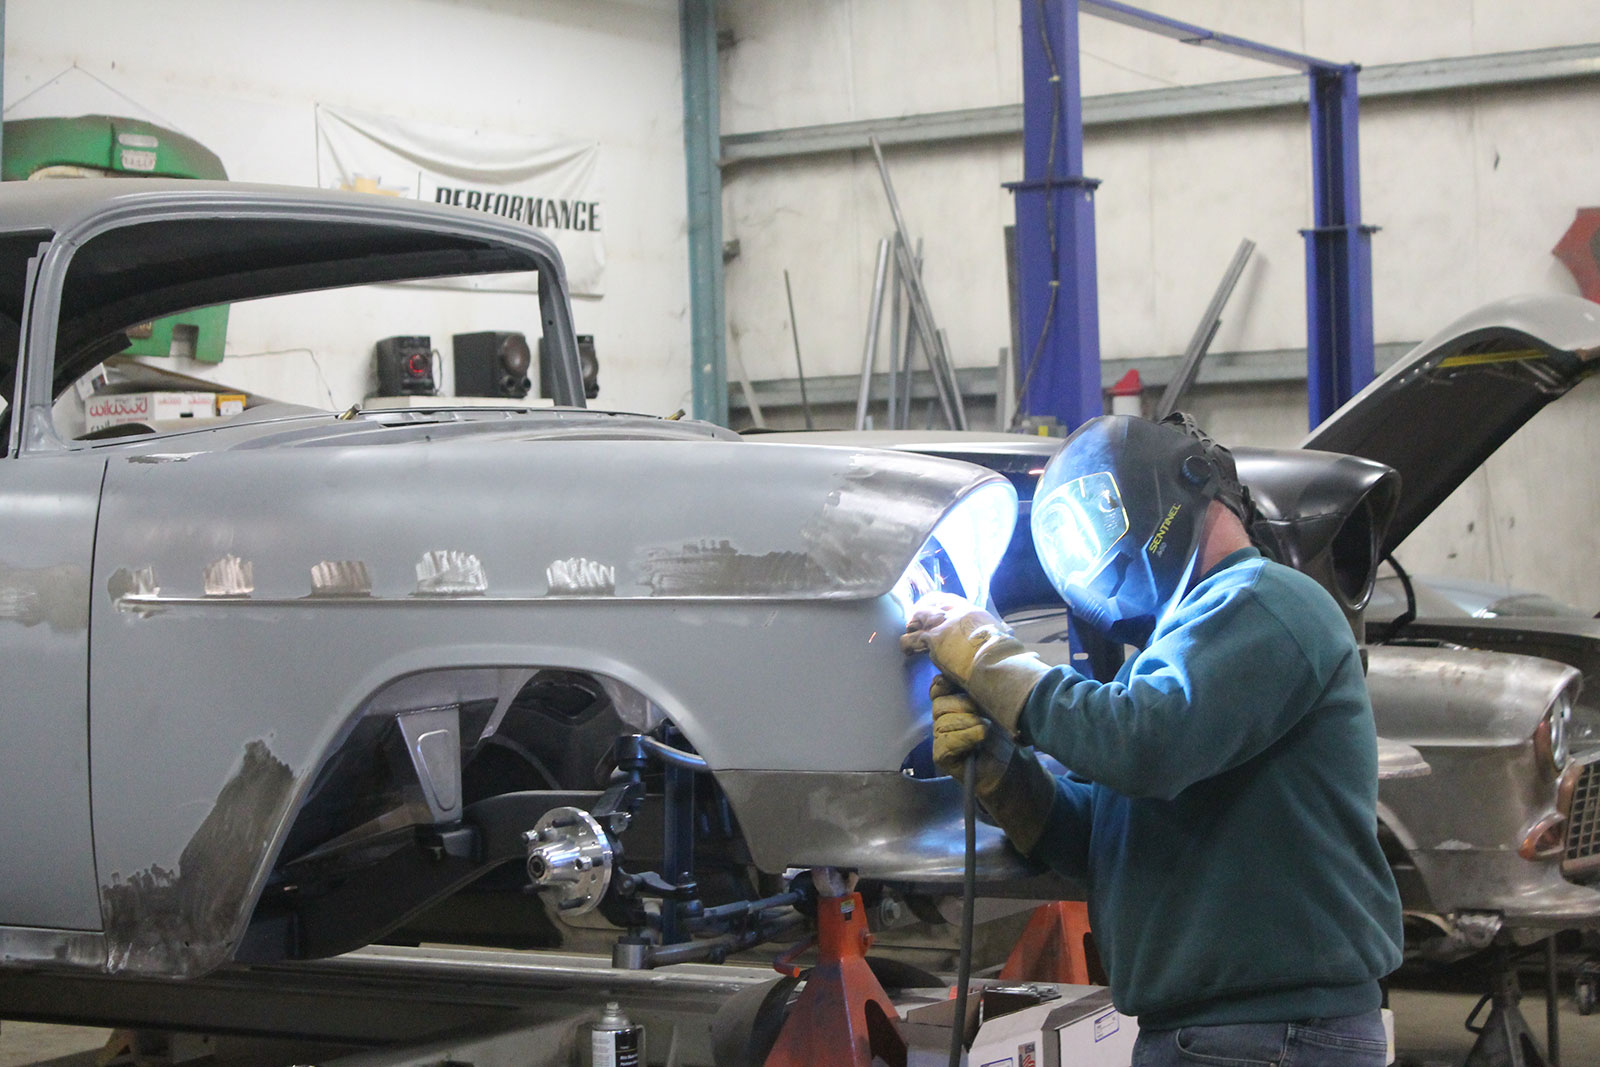
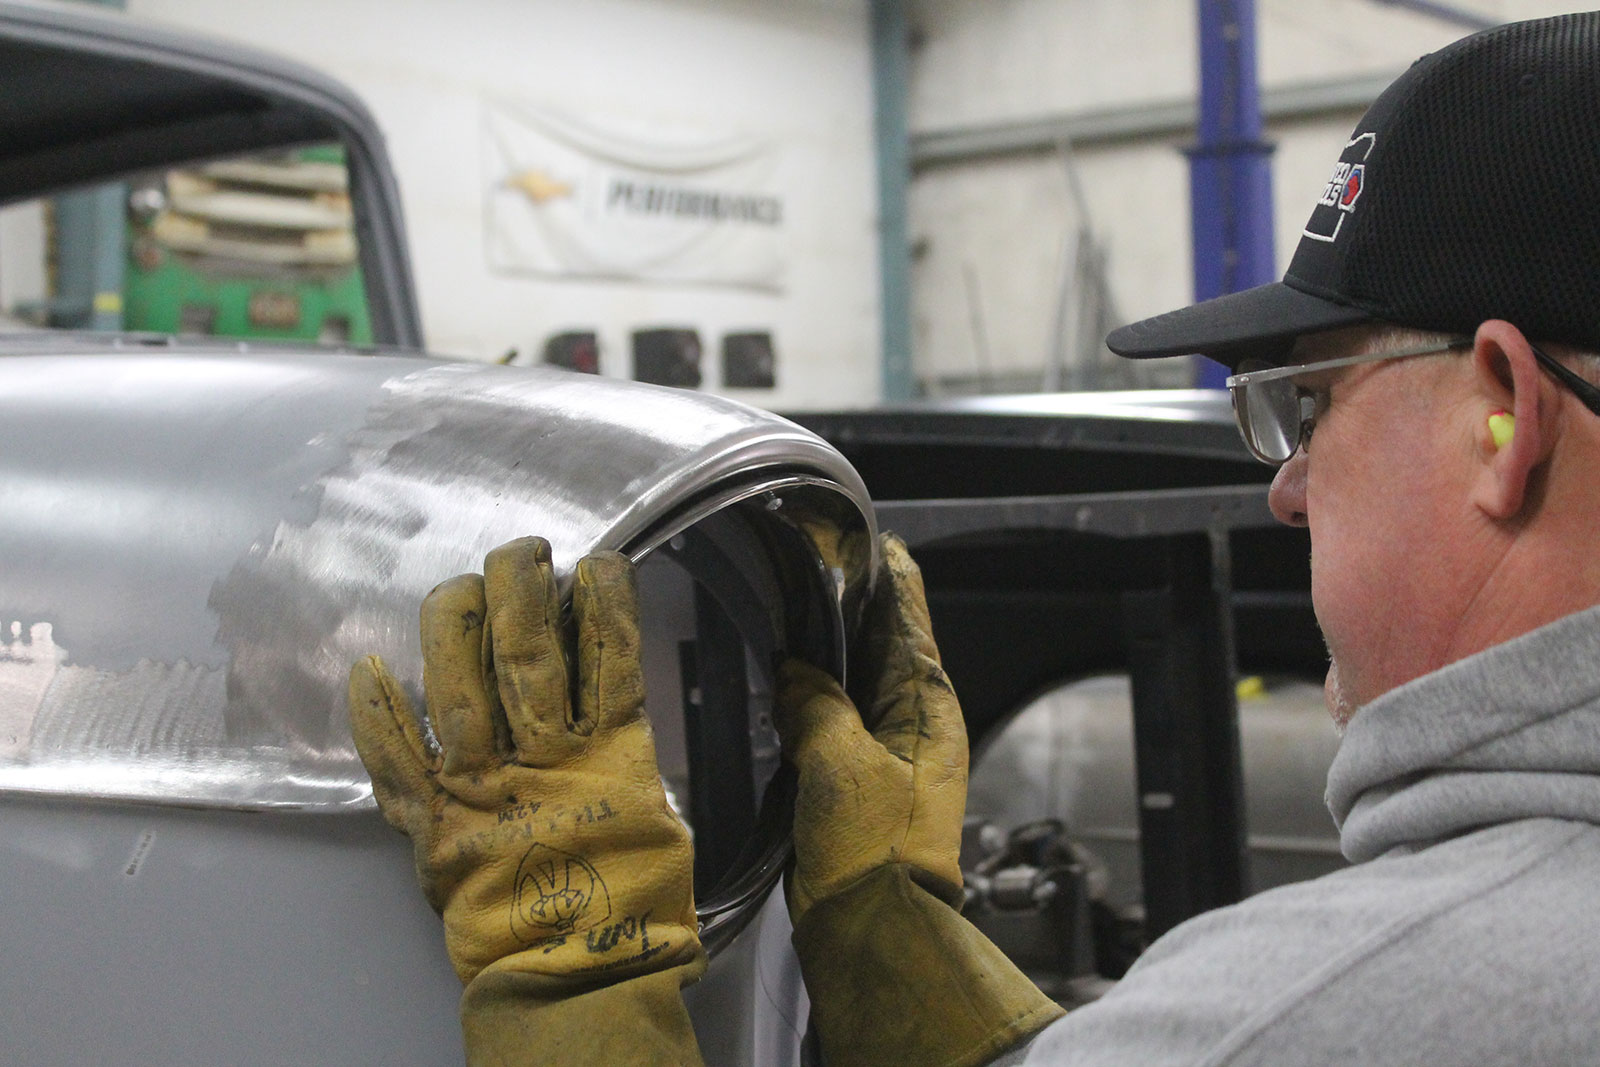
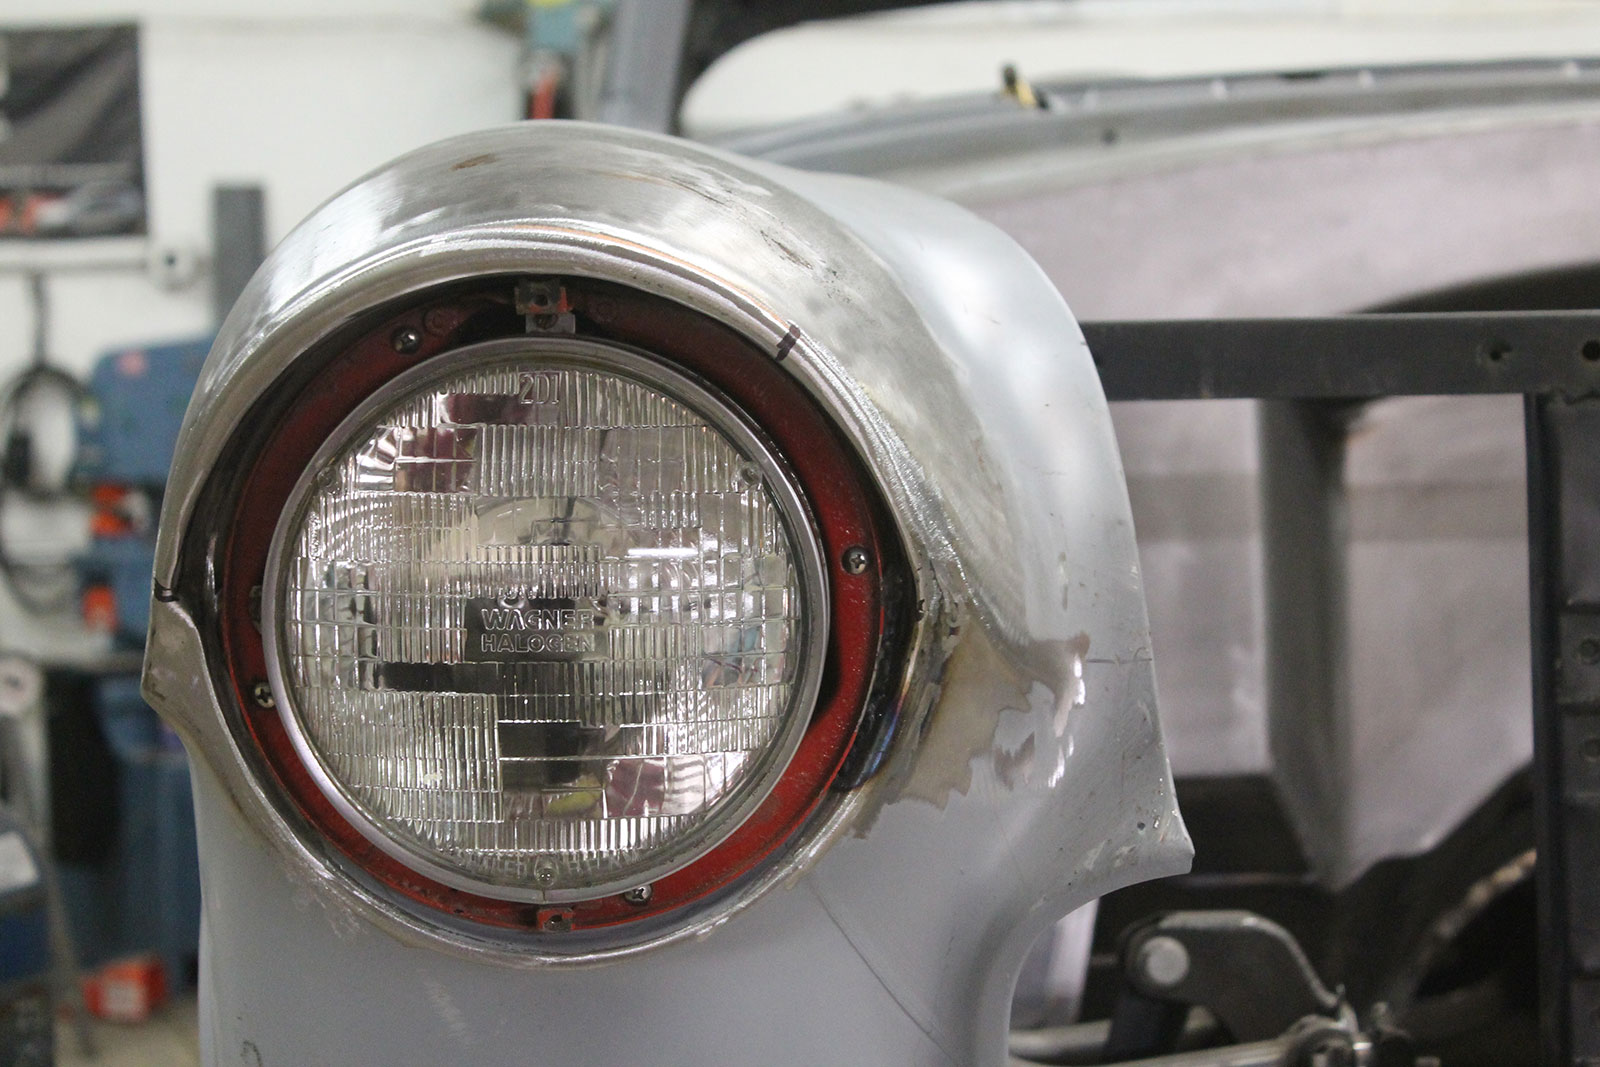
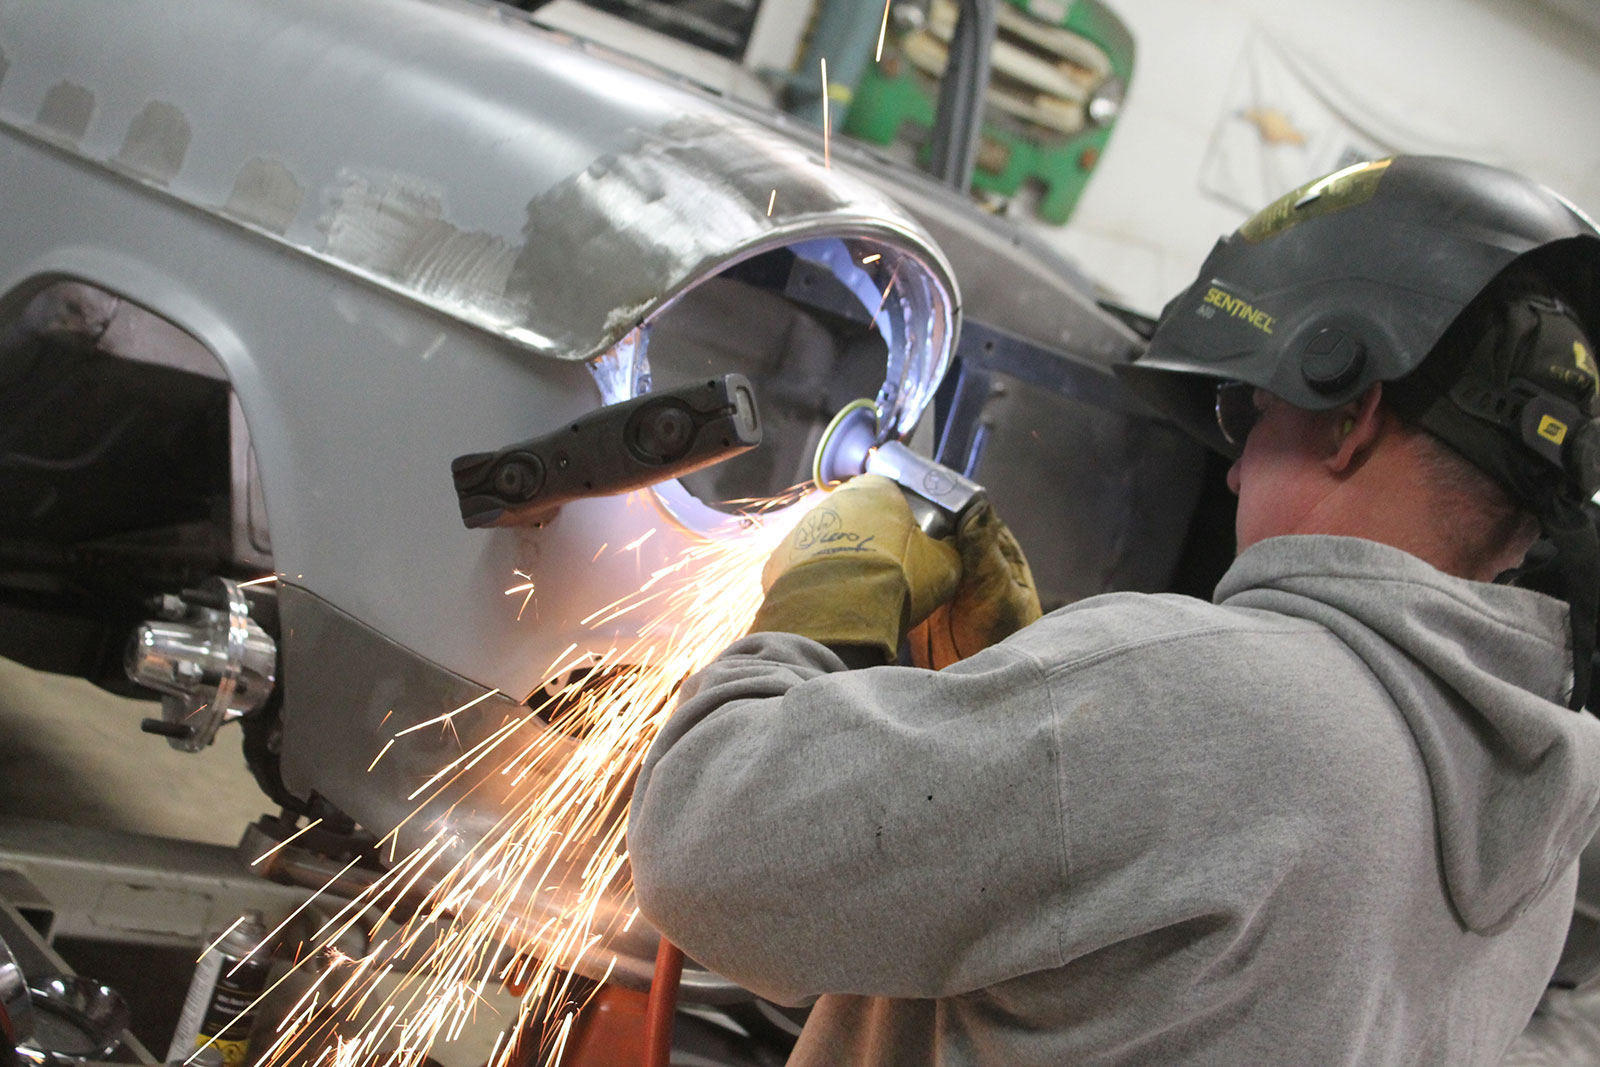
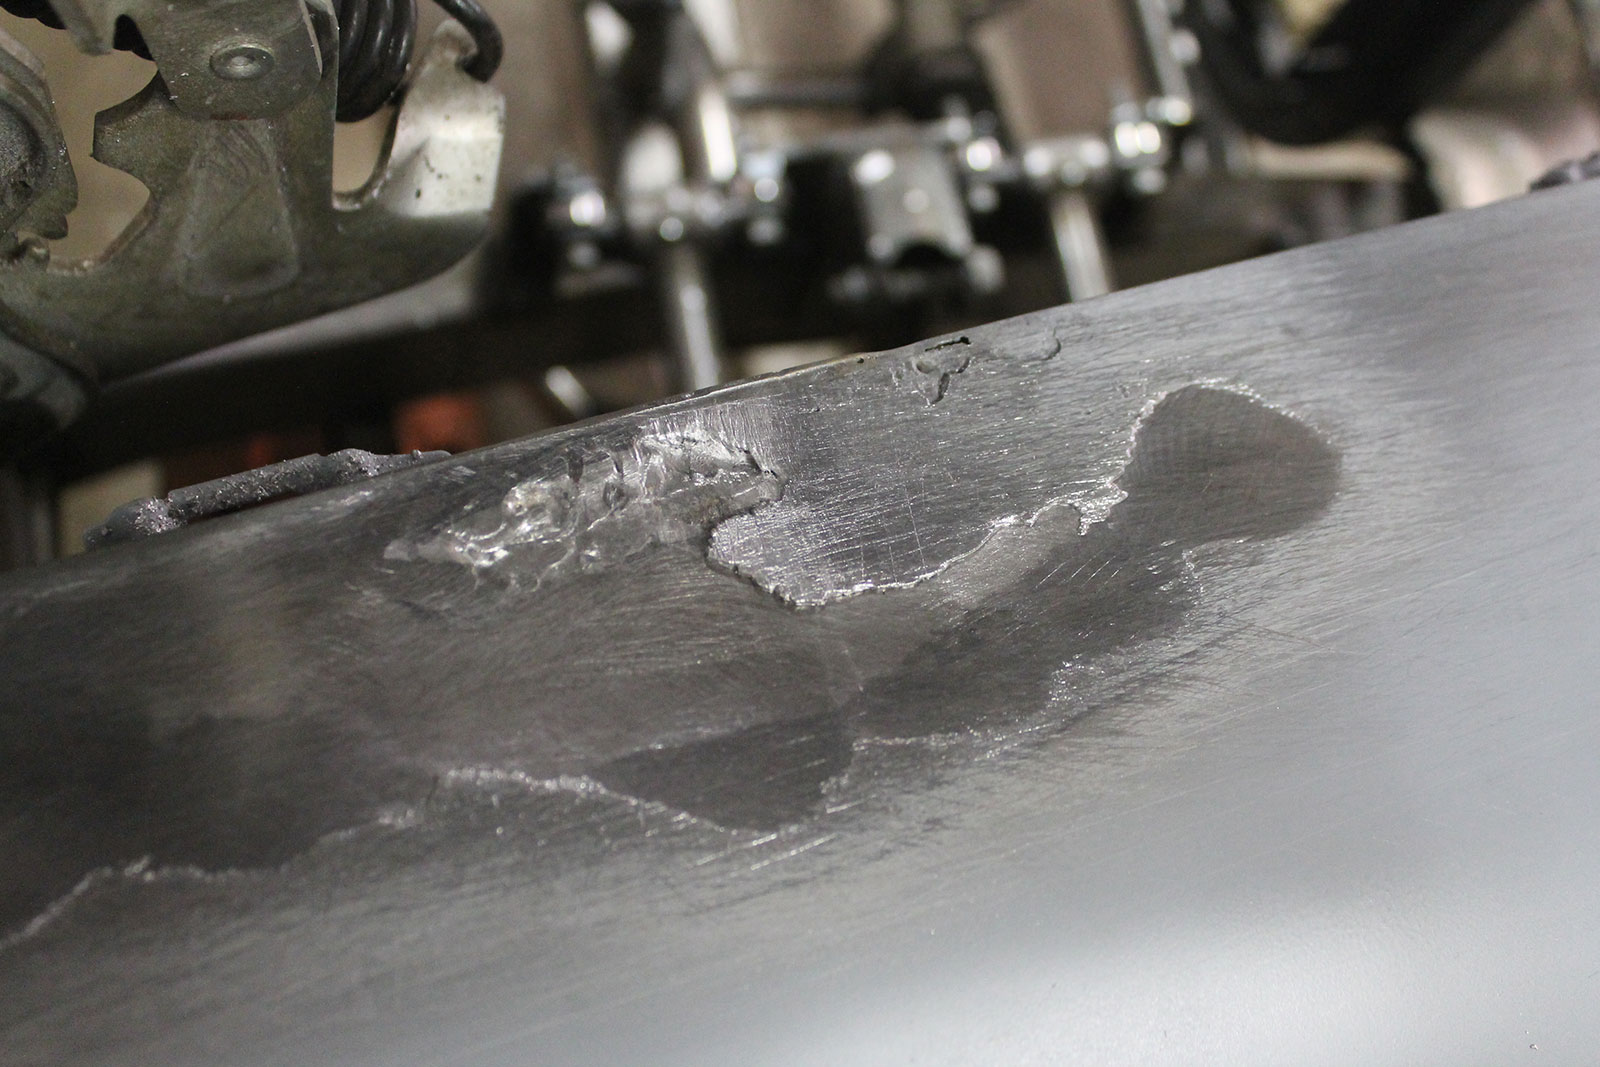
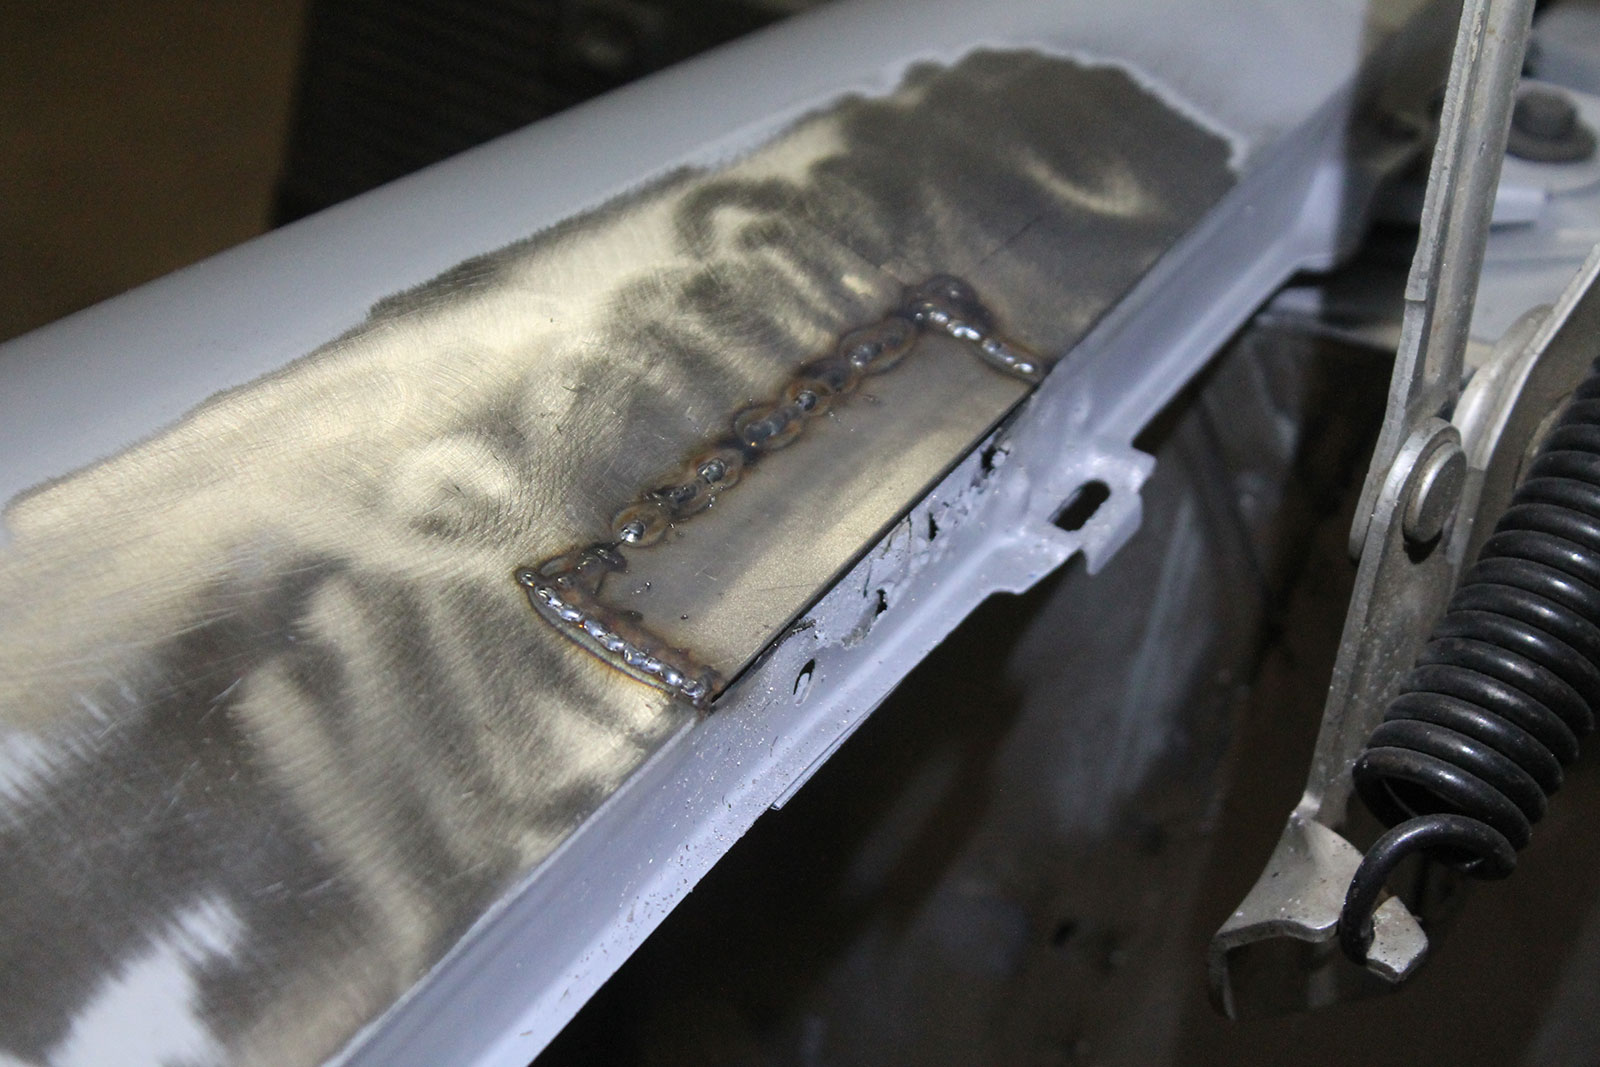
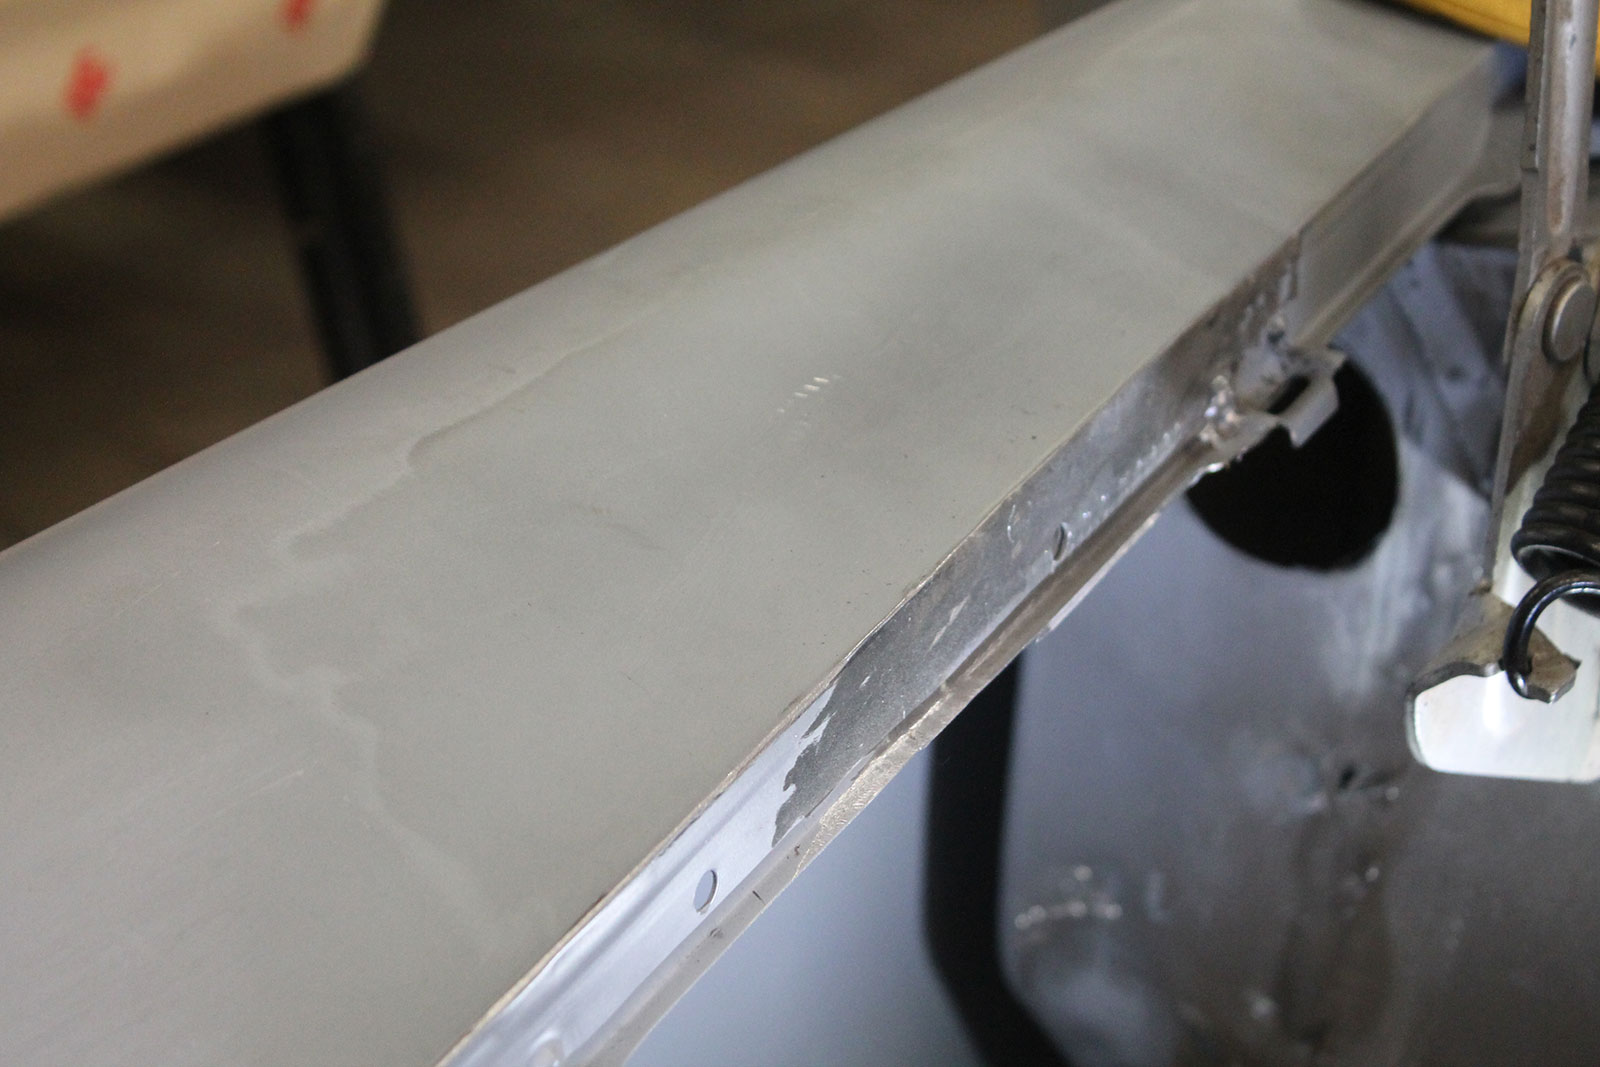
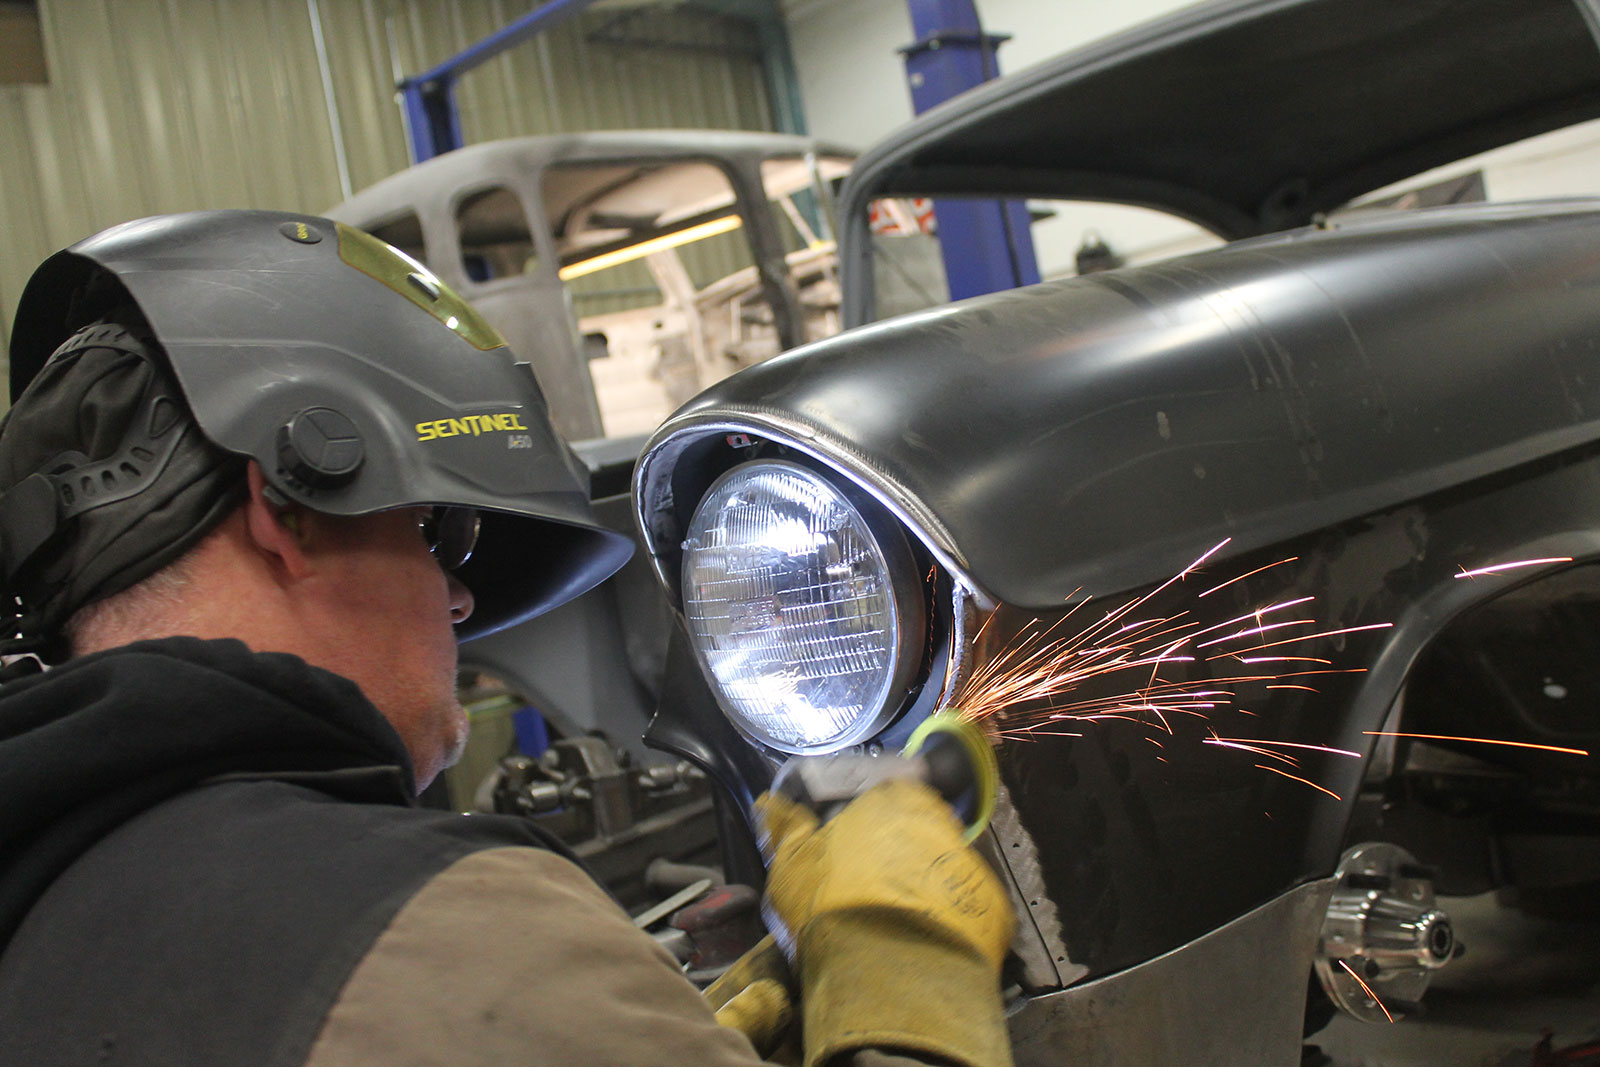
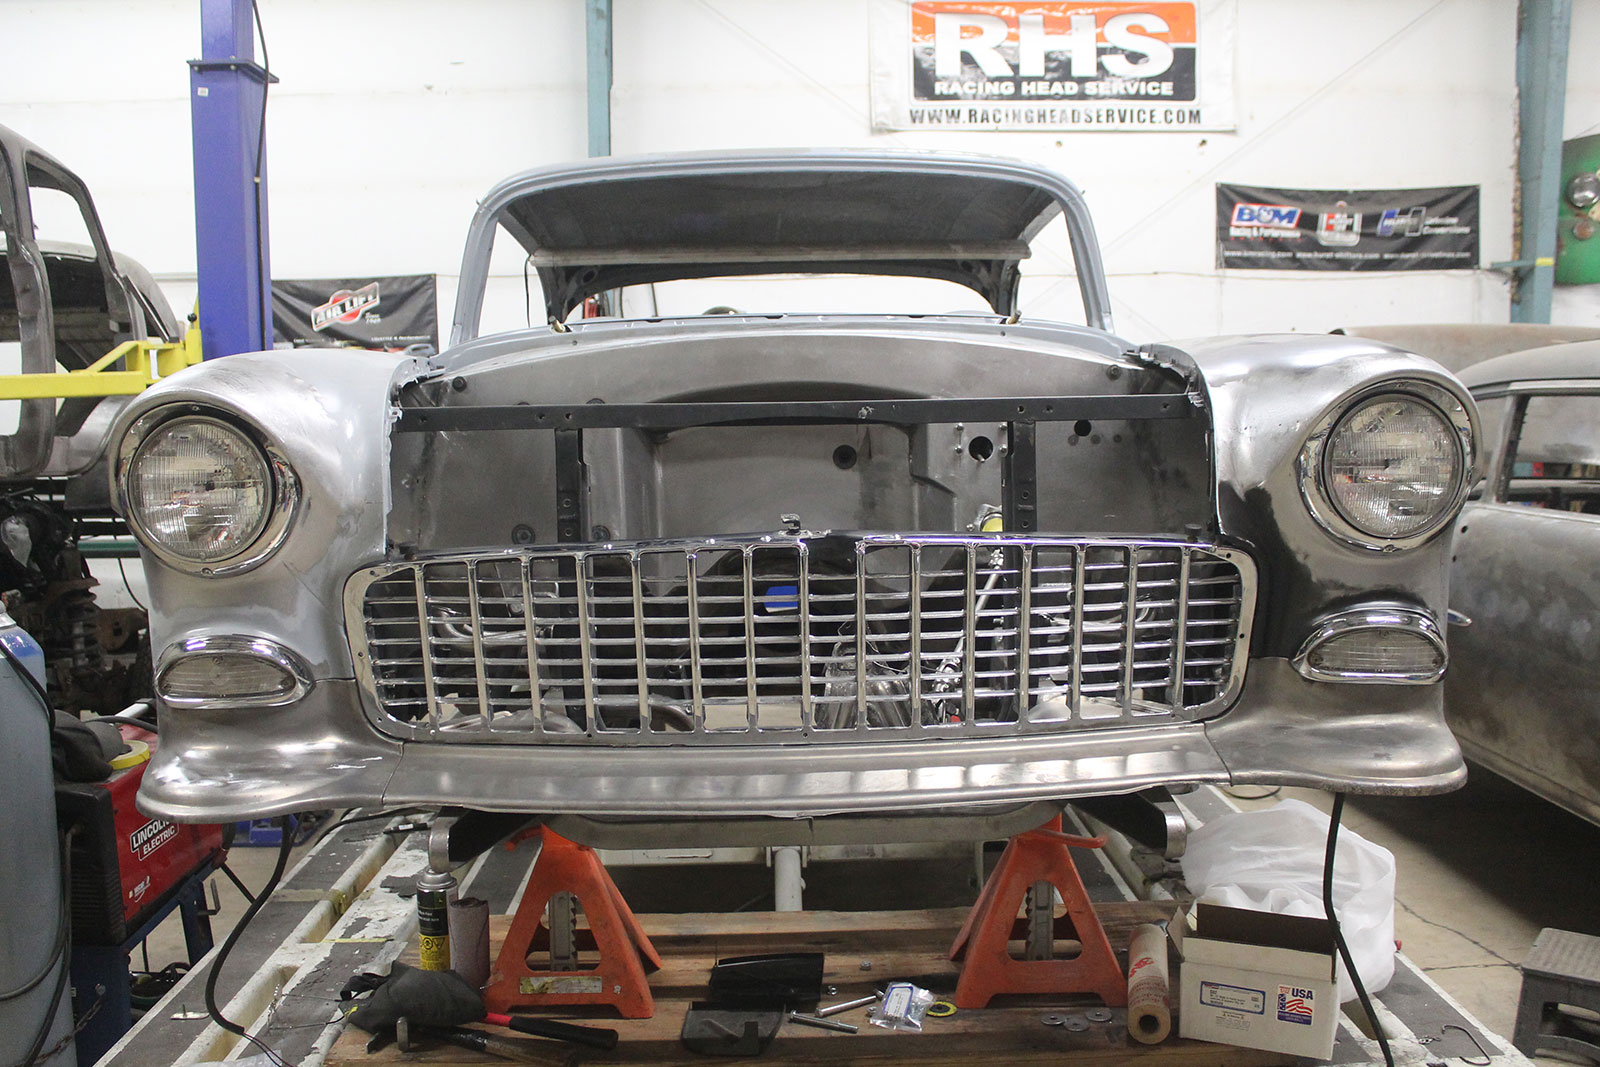
We outlined an previously mend. The rusted place experienced been hammered down and loaded with lead several yrs ago. This was a quality maintenance when compared to making use of plastic physique fillerWe outlined guide, this is just some of what melted away to expose the destroyed fender brow. MetalWorks had a a great deal better top quality maintenance in retail outlet for the fenderVery first the trim holes have been welded closed and dressed off. The primer was taken off from the decrease extremities to assure there was no rust in that place. Notice the perfect door to fender holeTom Lawson commences fitting the headlight patch panel from Basic Industries. Take note the new piece extends to fulfill the fender flange. This portion of the panel was trimmed off later on, but now it provides both of those an help in locating the panel and a clamping floorIn this article we see the trimmed fender and the interior ring tack welded in position. This ring is positioned between the headlight bucket and the trim rimThe patch panel was trimmed to satisfy the cut line on the fender, thoroughly clamped into spot, and then butt welded. The weld was carefully dressed down, beautifully hiding the seam. Be aware the piece extending to the fender flange was trimmed offThe inner mounting ring is carefully equipped within the fender and tack-welded to the fender. This ring mounts the sealed beam and trim rim so it will have to be a fantastic matchIn this article we see the ring within the fender, with just a pair of tack welds it can even now be massaged to excellent alignment. Observe the high-quality metalwork exactly where the patch panel joins the fenderTom examination-matches the headlight rim to the opening and the new fender brow. Screw holes have to align and the brow radius should be a excellent match to the trim ringThe headlight bucket and seal beam had been following to be checked for good suit. Considering that the decrease mount holes on the fender ended up not disturbed, fitting the headlight bucket was a straight-ahead affair. Two slice marks on the headlight brow clearly show in which a little slot will be lower to reconfigure the radiusGlad with a great fit, the internal ring was concluded welded and the welds have been dressed so the headlight bucket would have a flawlessly flat mounting floorRight here is the concluded product or service, just one rust-cost-free original fender. Note the sealed beam matches nicely inside the trim ring and the glass flutes are completely parallel to the floorThere was 1 additional location in will need of repair service. Situated in an abnormal place of the fender it seems to have been welded and leaded-around some yrs in the past. How the injury happened in this region is not knownStaff MetalWorks just minimize out the total direct location and in shape and welded a new piece in location. This piece carries a slight radius, so time was taken to match the fenderFollowing the prime piece was welded in location the vertical portion of the inner fender was slice out and replaced this is the concluded mendNow our awareness is turned to mounting and finishing the copy fender. Be aware the crisp fender lines and good over-all healthy of the new fender from Traditional IndustriesThe all round match of the headlight and trim was excellent, but “good is not excellent enough” at MetalWorks. Slight alterations were being created to the fender, with steel included on the decreased outboard corner to match the headlight rim. The two seams found in this photo will be welded and steel concludedYou will have to have a eager eye to see the slight variation in the trim ring to fender hole. The moment yet again, that seam in the fender will be welded and metallic finishedFollowing laying a weld bead on the fender the steel is diligently floor down for a fantastic suit. The reproduction fender did not have trim holes so that saved some time and operateIndividuals two seams made use of in the assembly of the copy fender have been welded with each other and metallic-completed. Now is the time to verify for the proper reduce splash pan fit. It was spot-onBelow is the completed product or service. The headlight in shape matches the passenger side headlight and immediately after system- and paintwork you will under no circumstances know which fender is authentic and which is replicaWith the fenders bolted and aligned for great door gaps, the front splash aprons, parking lights, and grille are all take a look at-healthy. Fitting panels in bare steel is crucial for a fantastic final complete